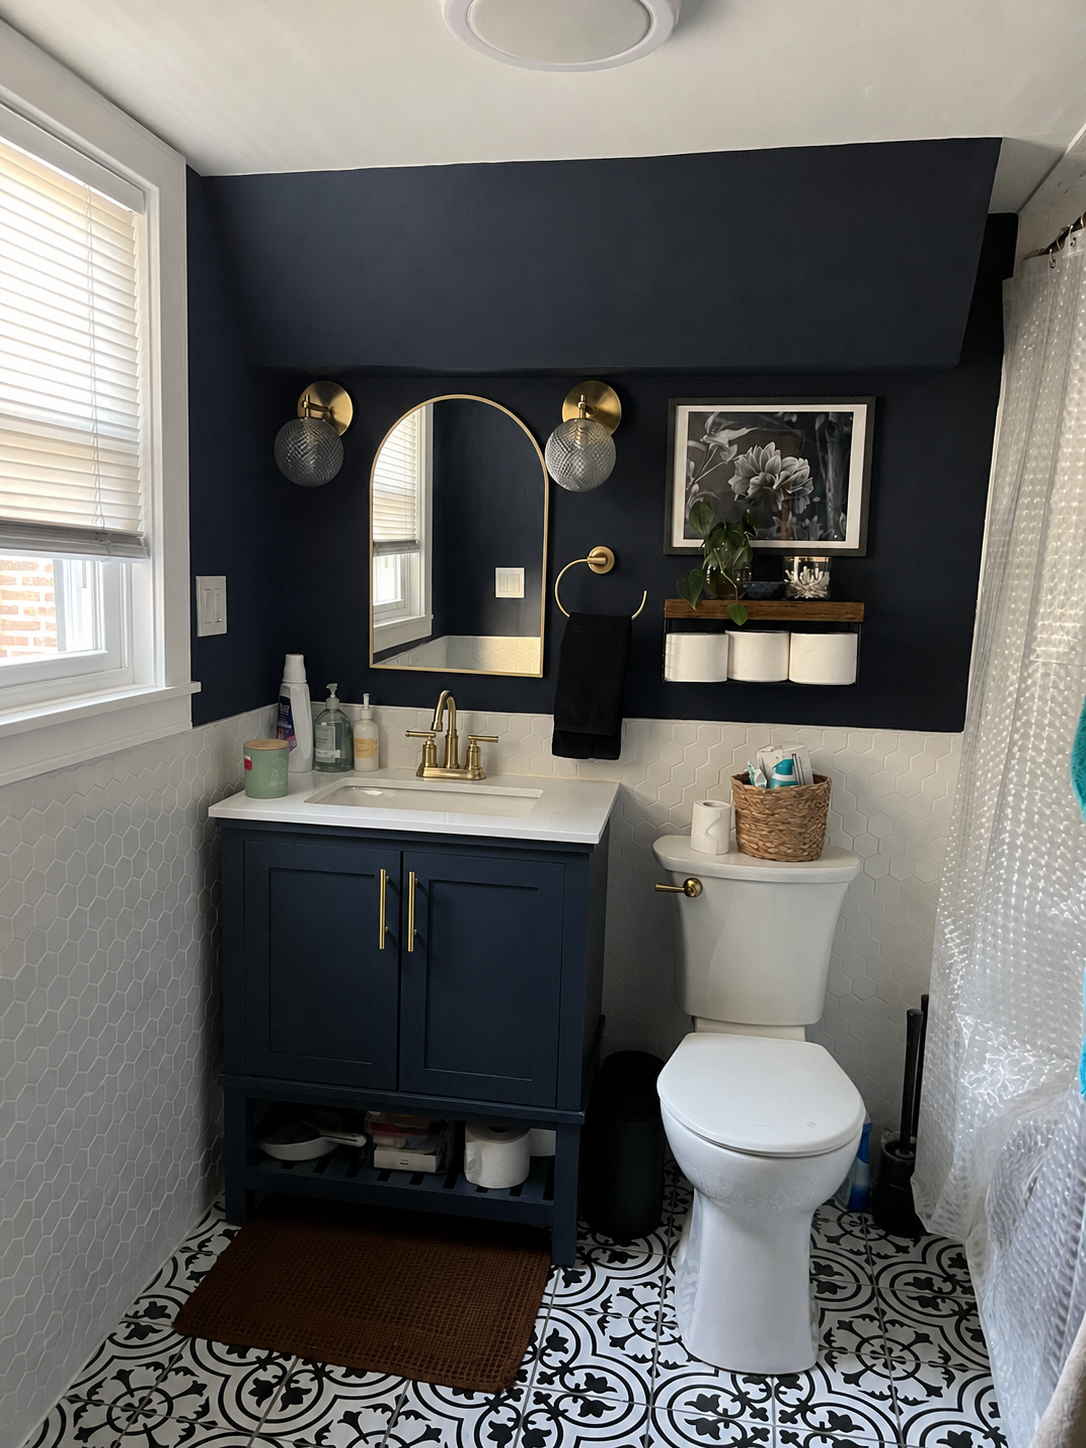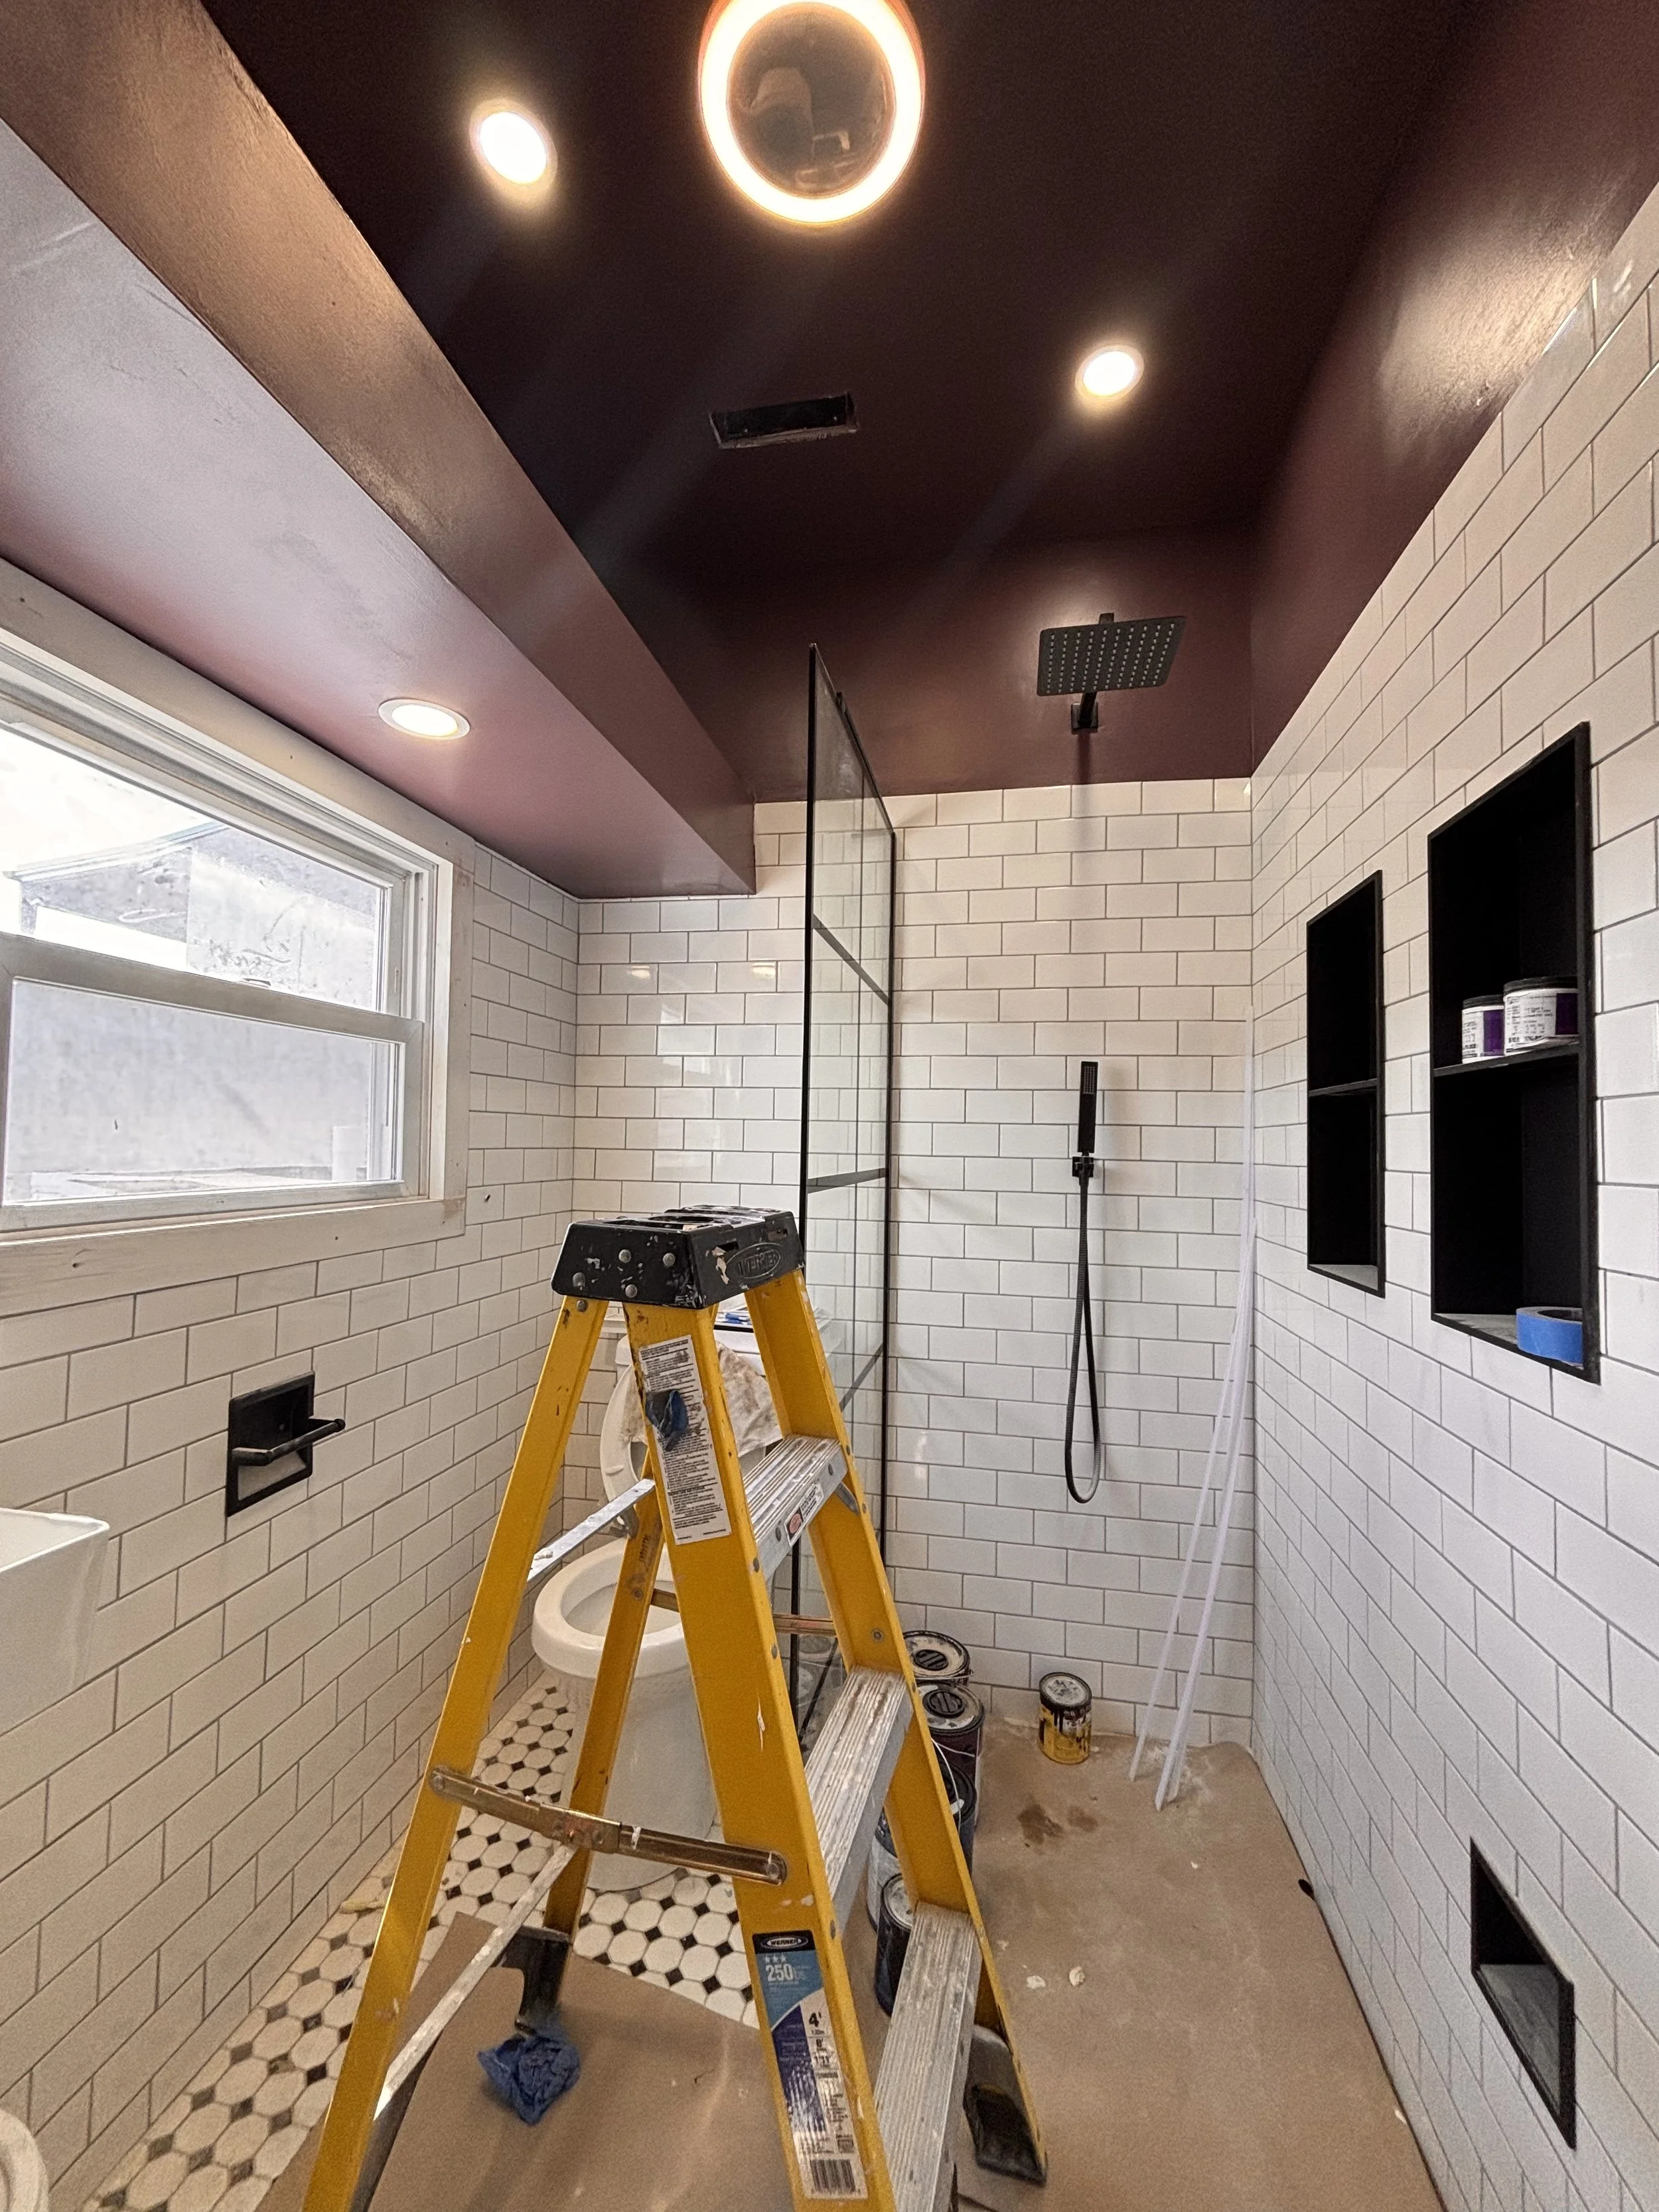
William H Turner House
1855 | 2026
Evergreen Forge purchased this property in 2020 with the intent of performing their second live-in renovation project; a fix-and-rent project that would take 1-2 years max. I write this caption six years later, the morning after prepping plywood subfloor for new flooring installation.
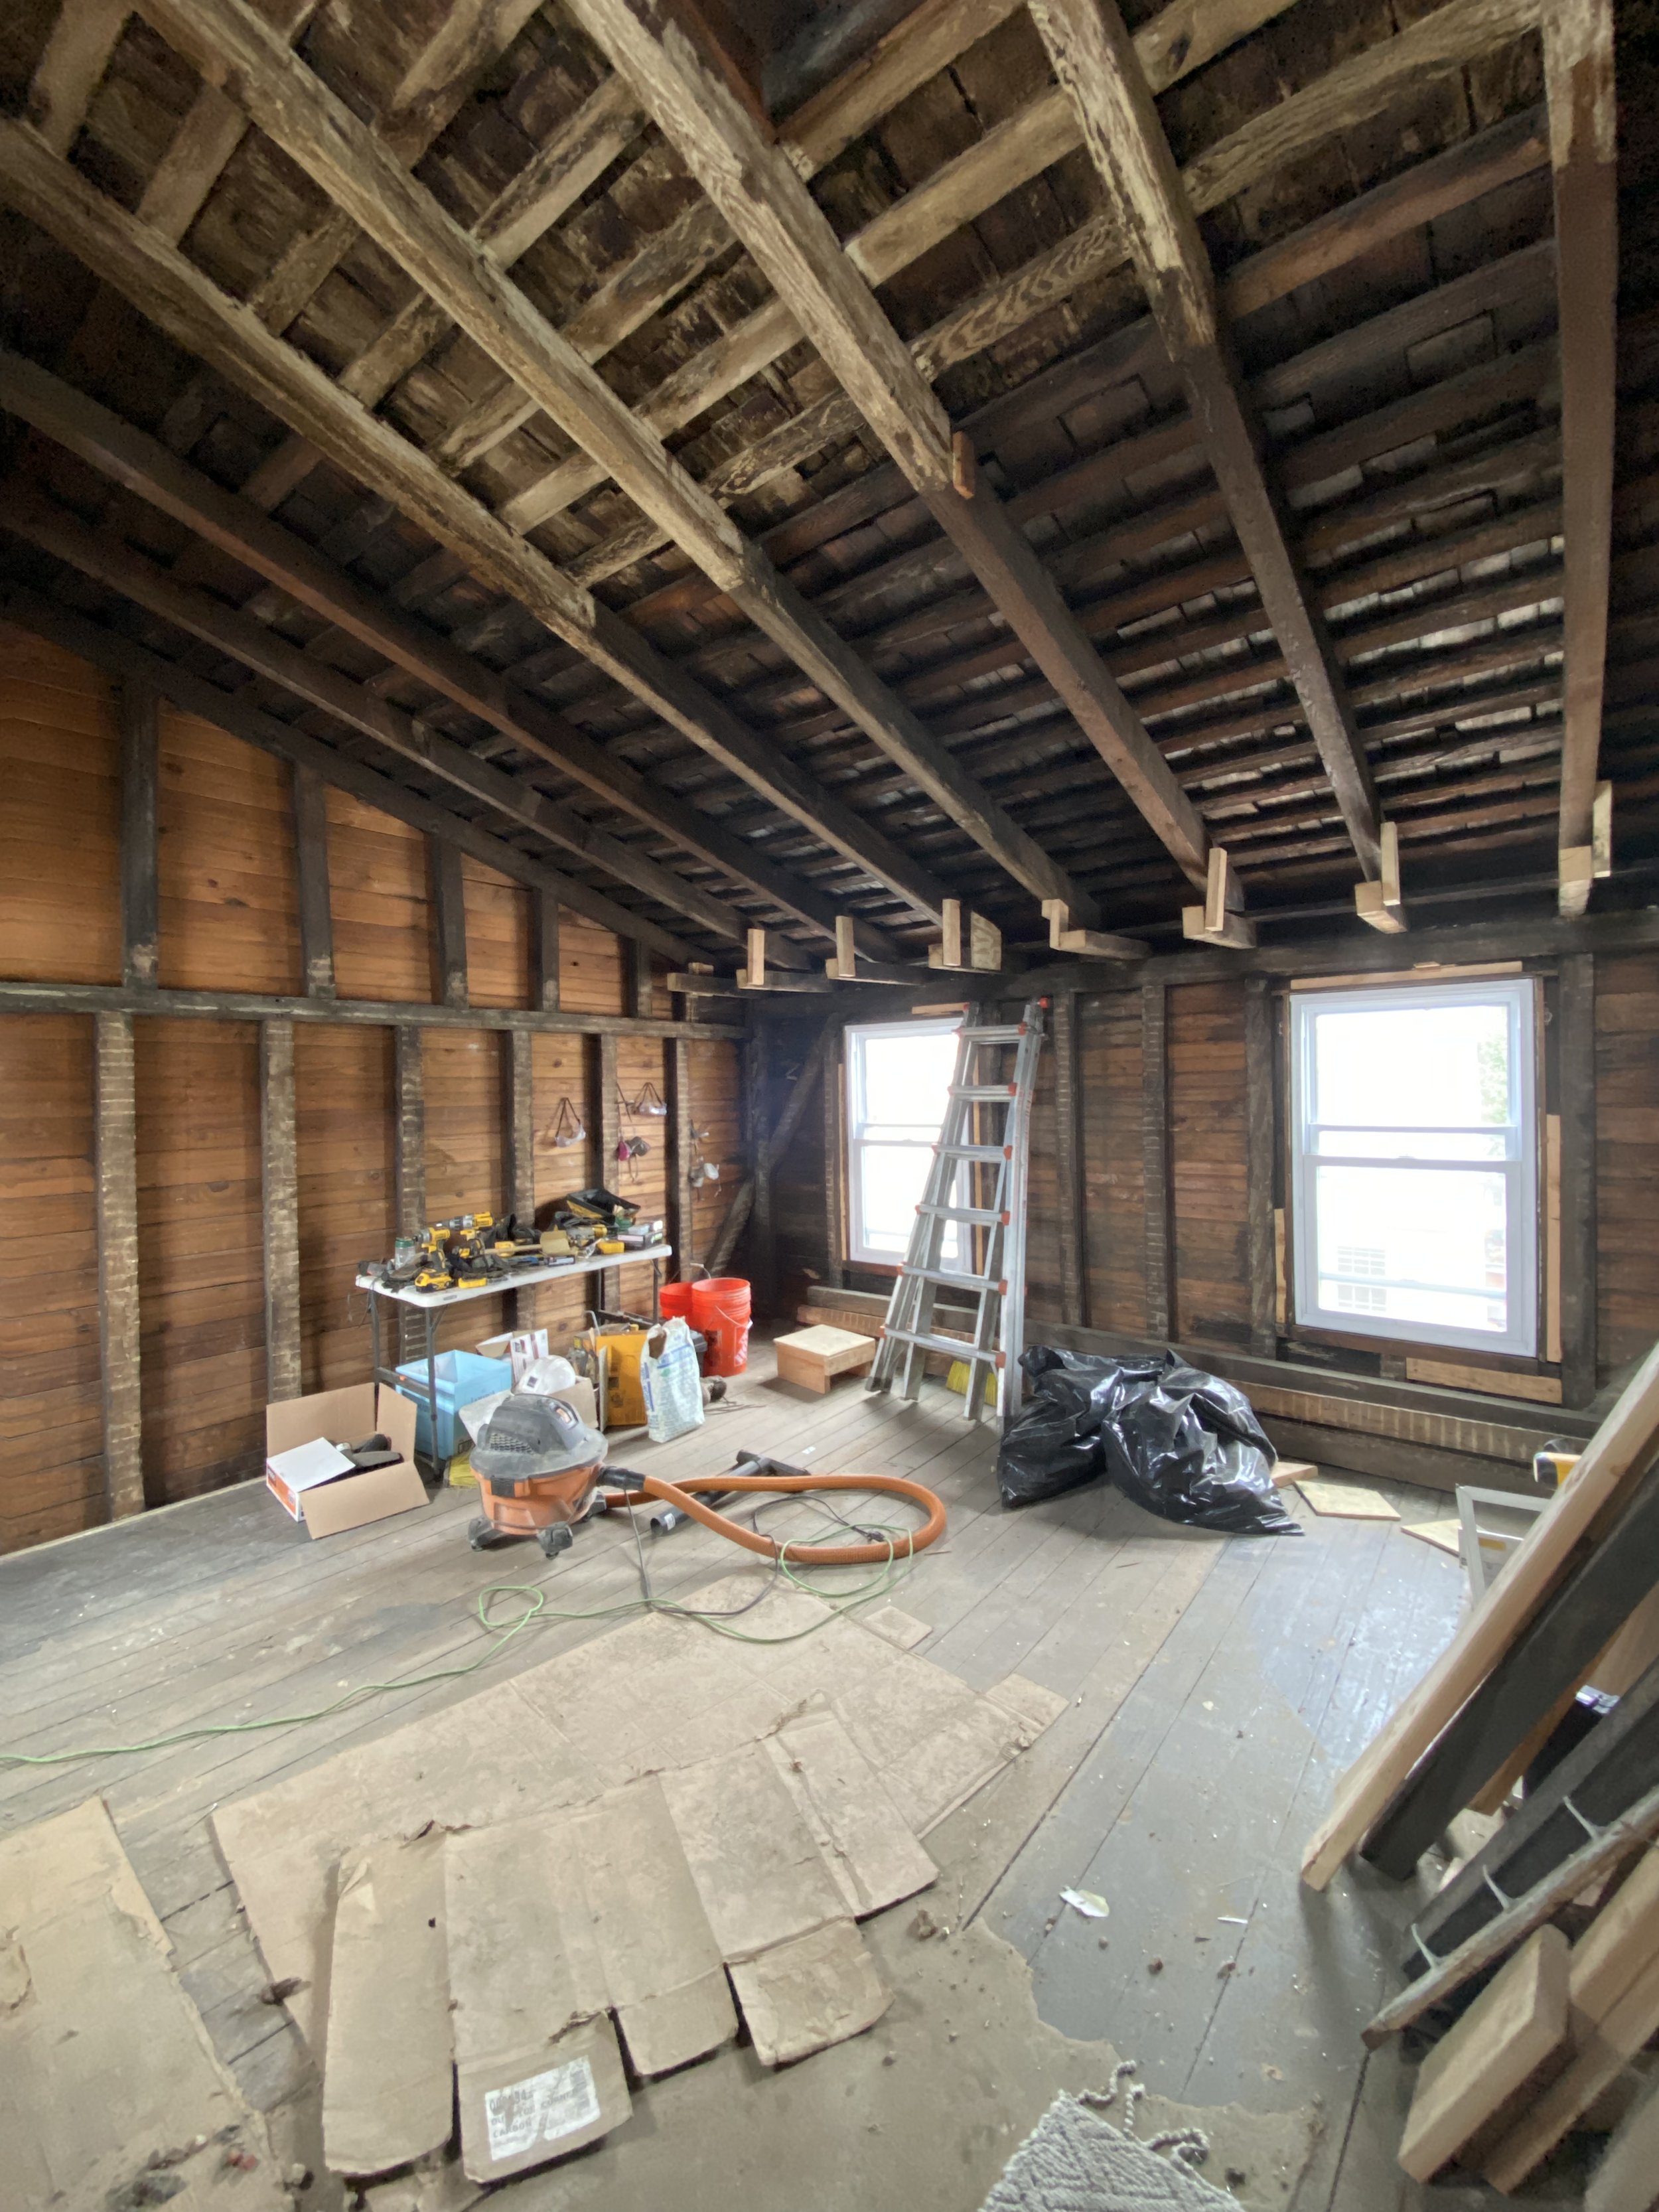
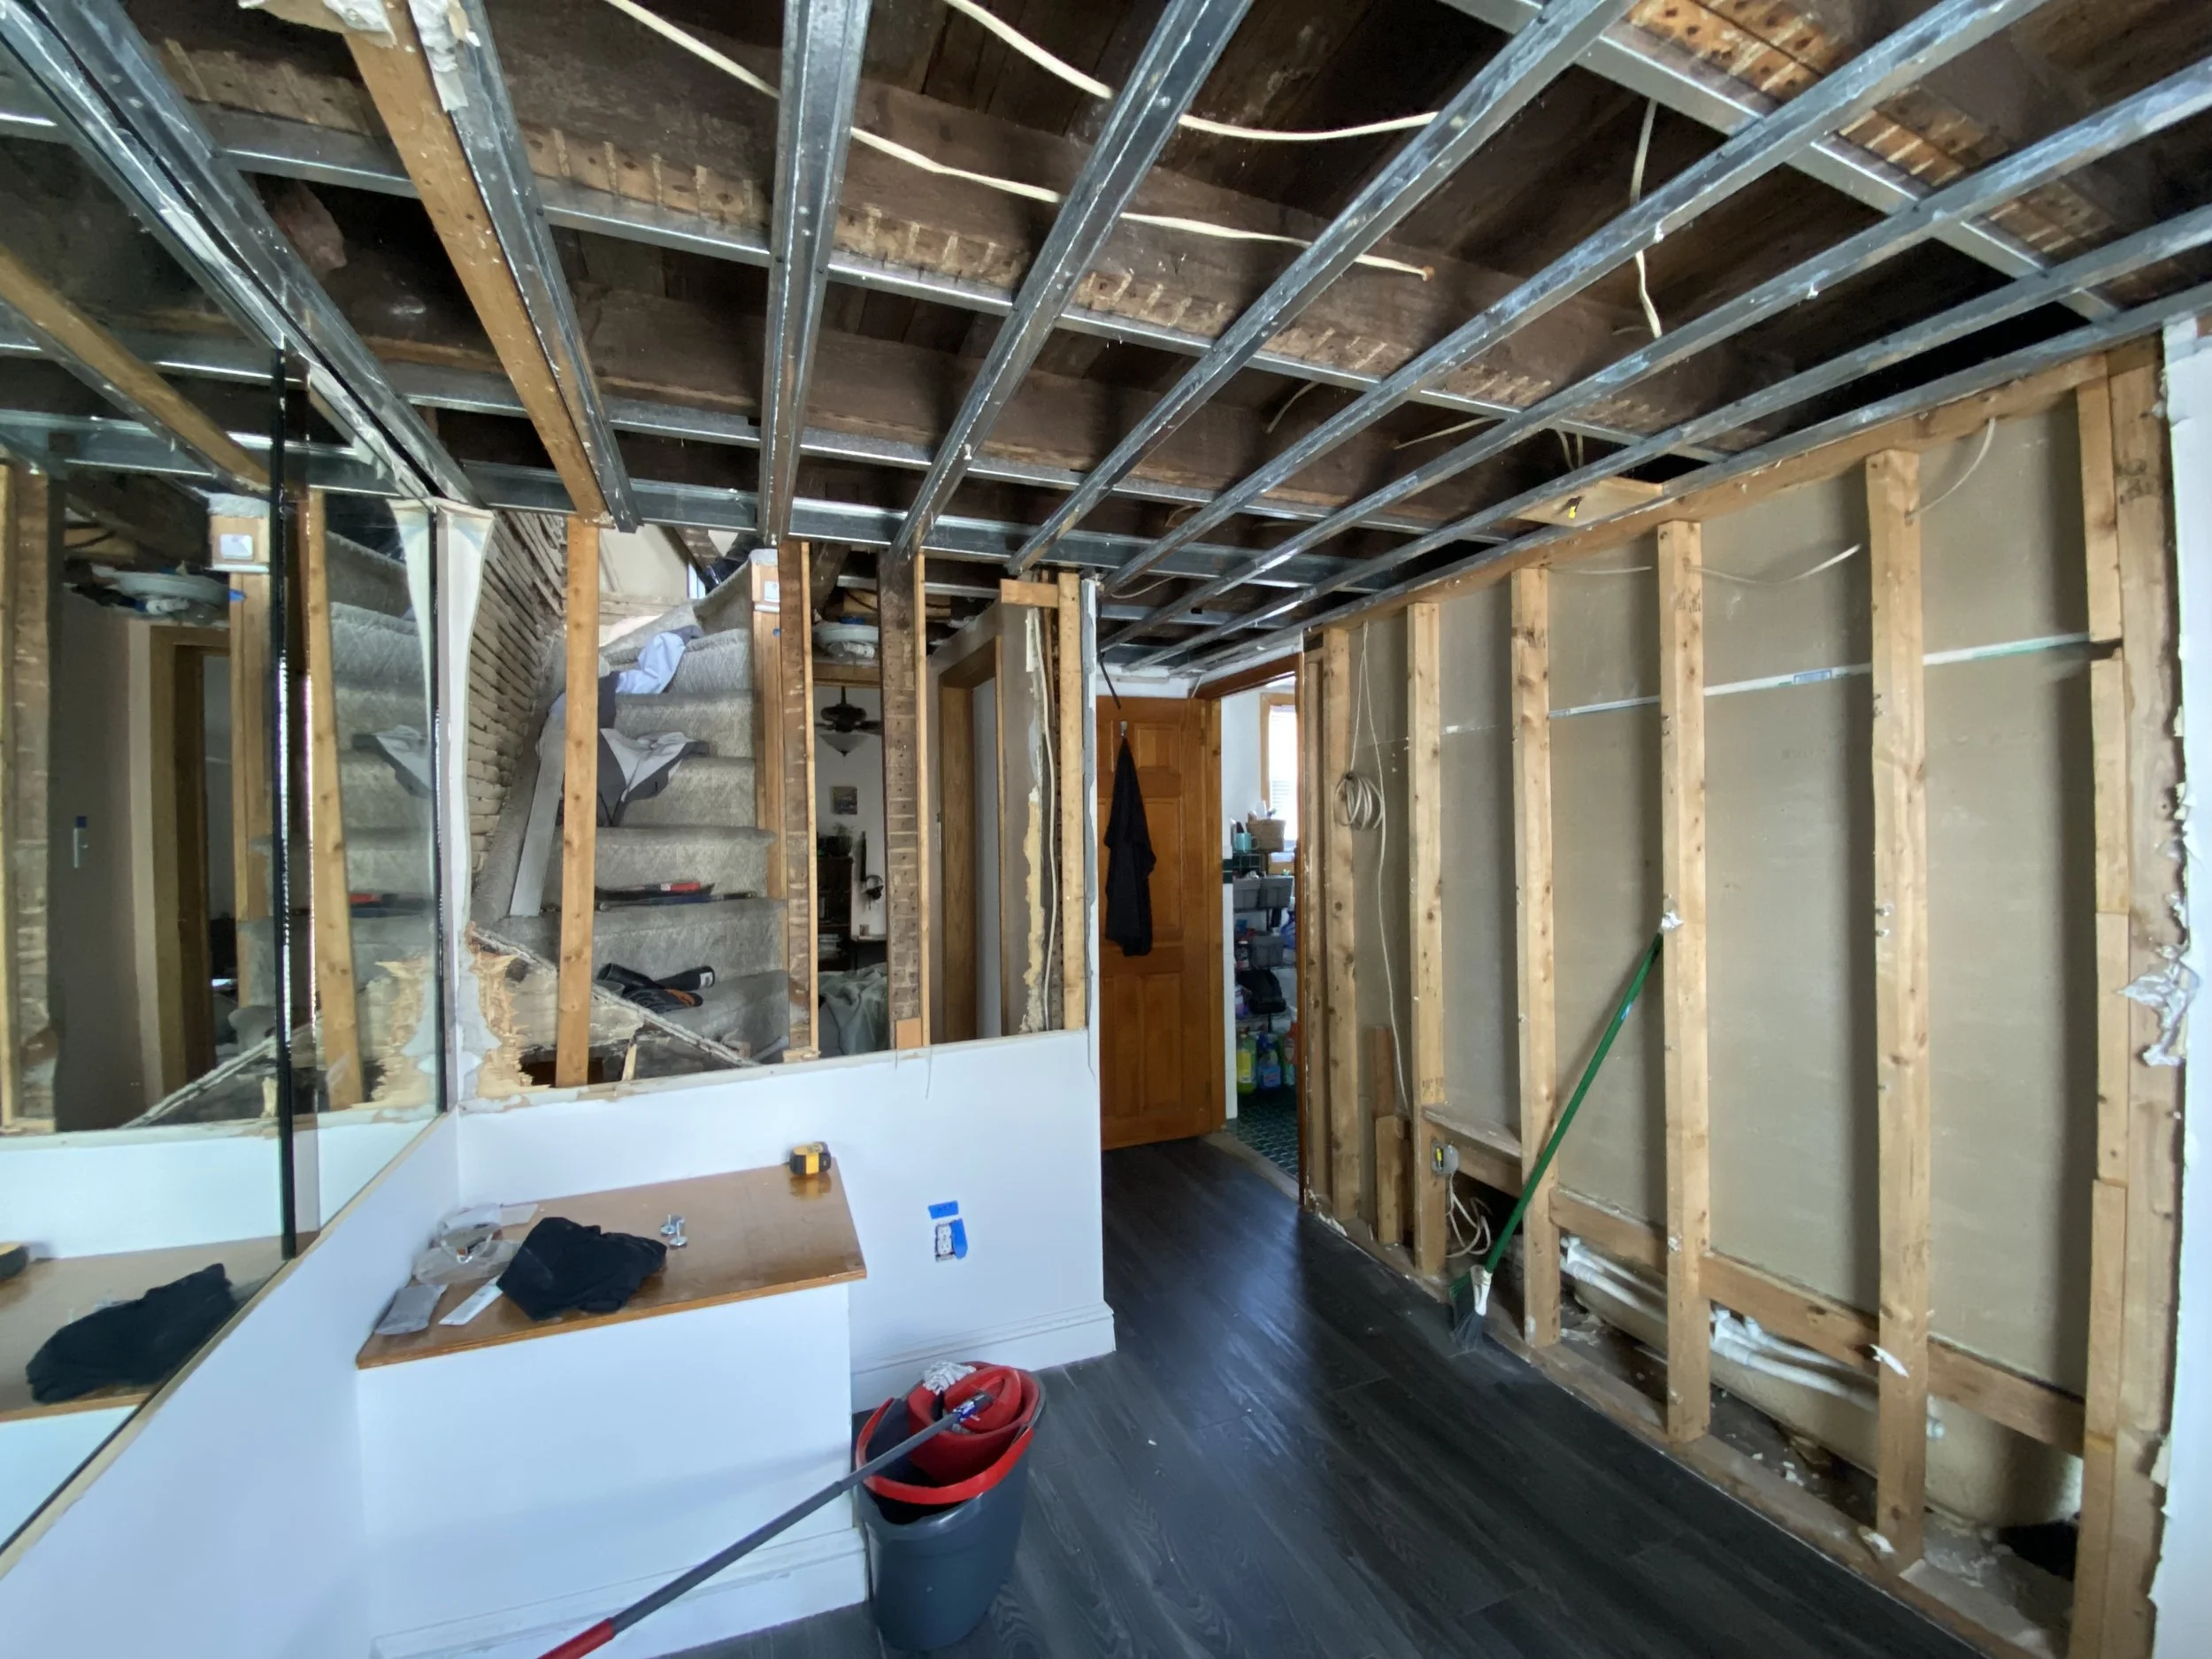
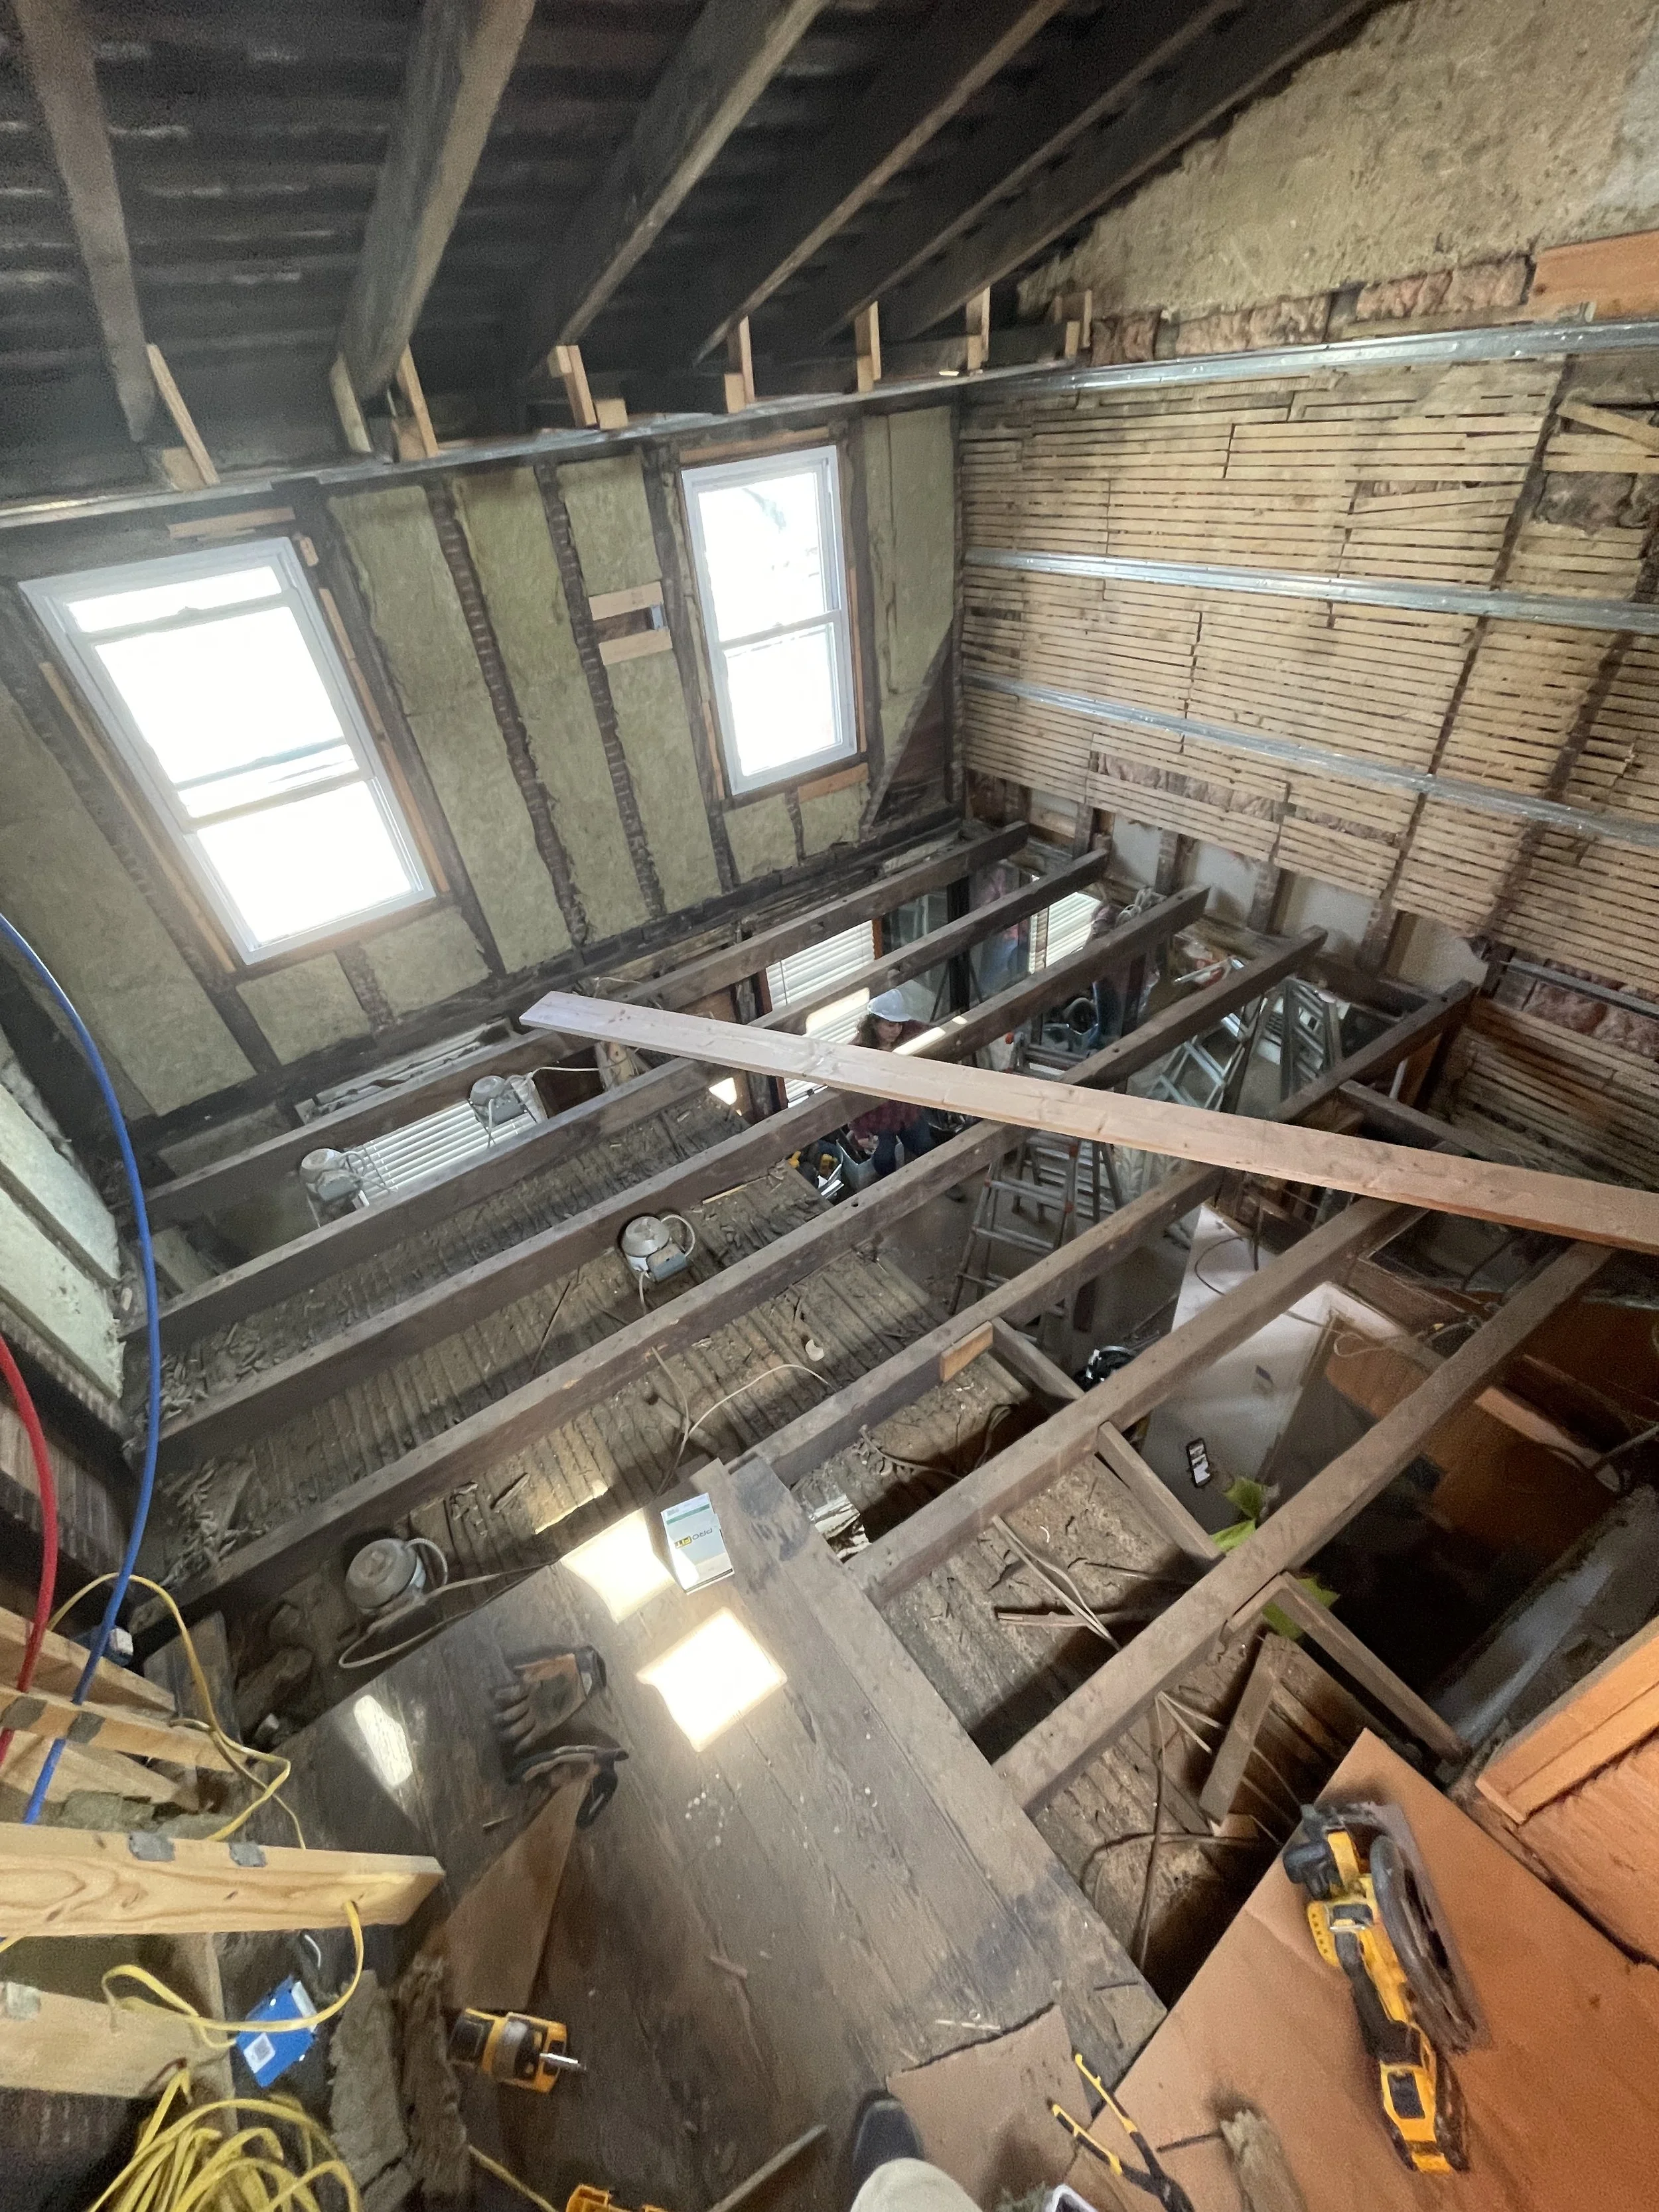
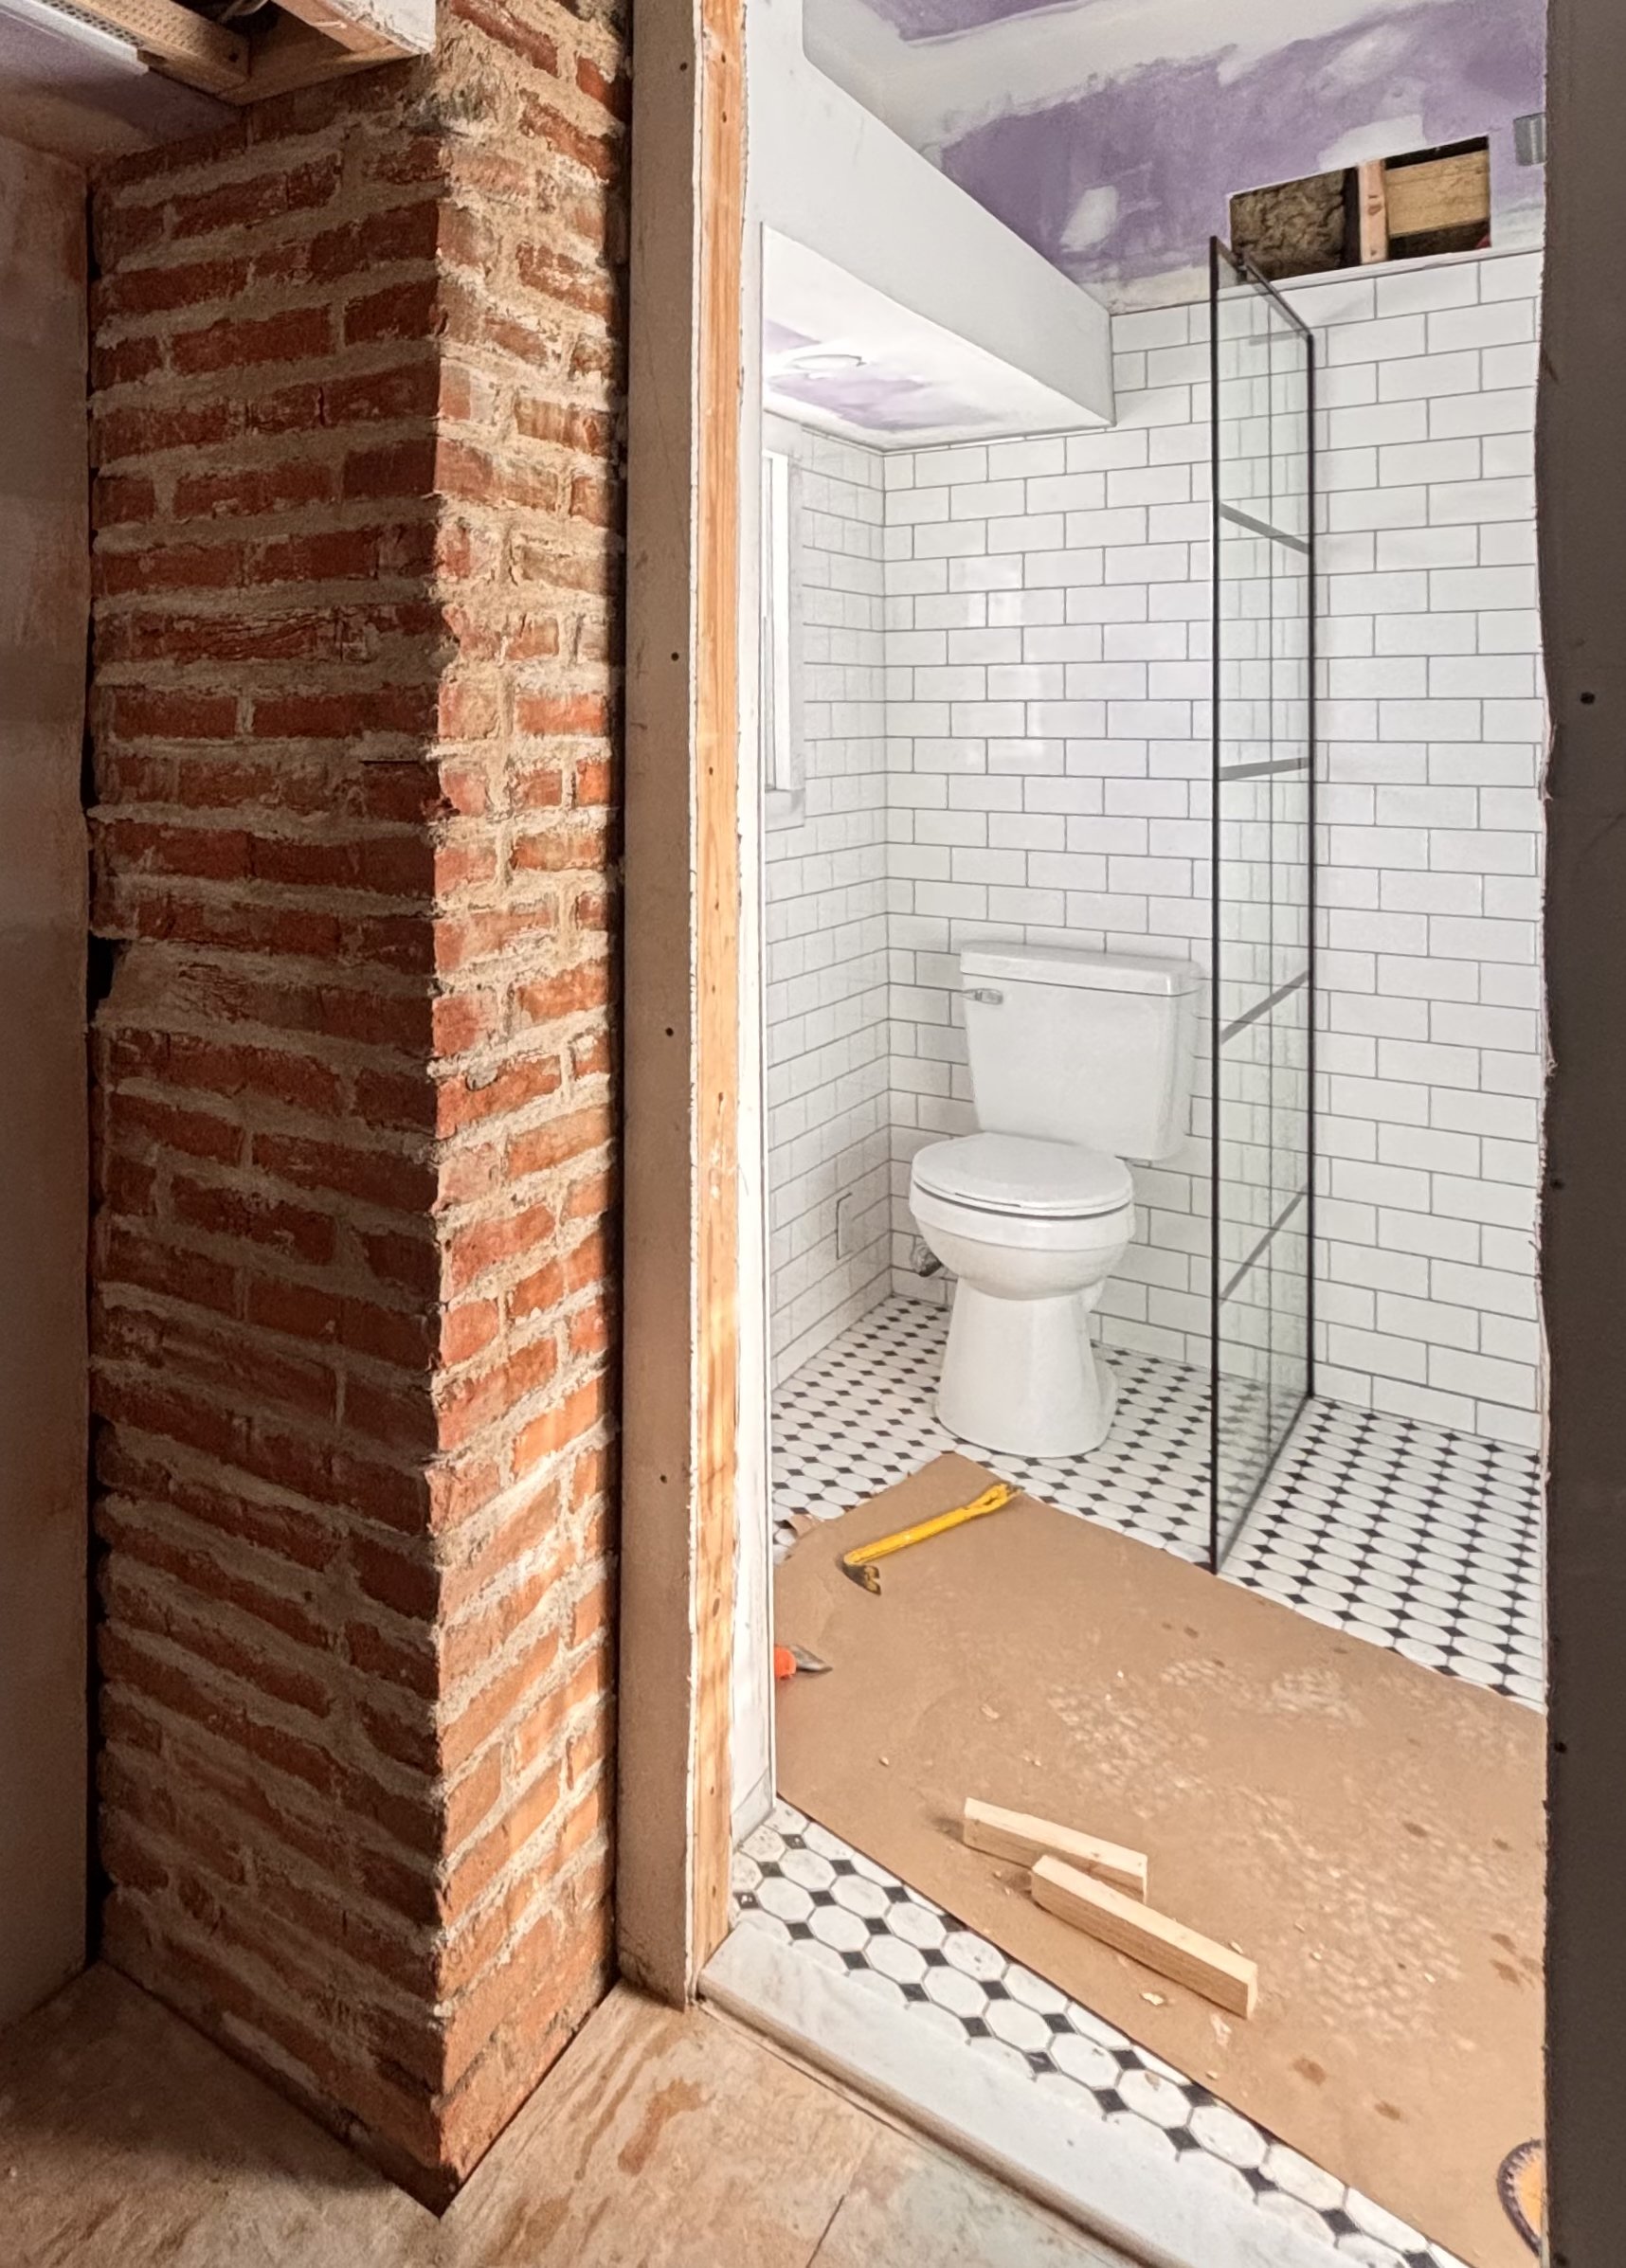
What started an ambitious financial endeavor fueled by low interest rates and explosive local rental demand turned into a forced labor of love. Once the walls are open as pictured above, your only two options are to finish the job the right way, or foreclosure.
There were many discoveries along the way. Most were your classic motifs of an old-home money pit; including sagging floor joists, knob & tube wiring, asbestos tile, and not a single right angle in the entire structure.
Some of the more pleasant discoveries were tucked away in a third-floor attic, which was demolished to create a vaulted ceiling. Among them were handwritten journals dating to the late 1800’s. These journals belonged to the original owners of the property. You can read more about this discovery here
In a world where developers don’t think twice to tear down these structures, it felt appropriate to do our best to breathe new life into this pre-civil war residence. Solving the aforementioned issues was the absolute bare minimum for success. We figured along the way, we might as well try to do something unique.
Planning & Demolition
existing third floor. 6’-3” ceilings. I wonder what’s hiding up there?
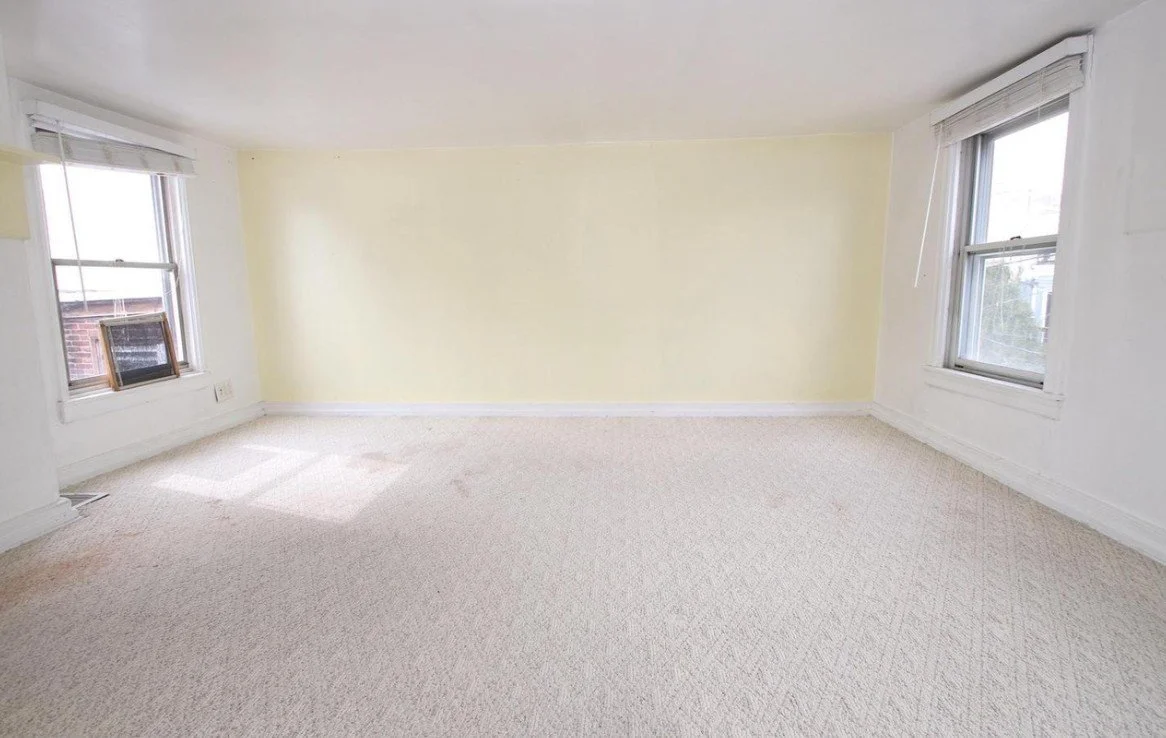
Second floor bedroom
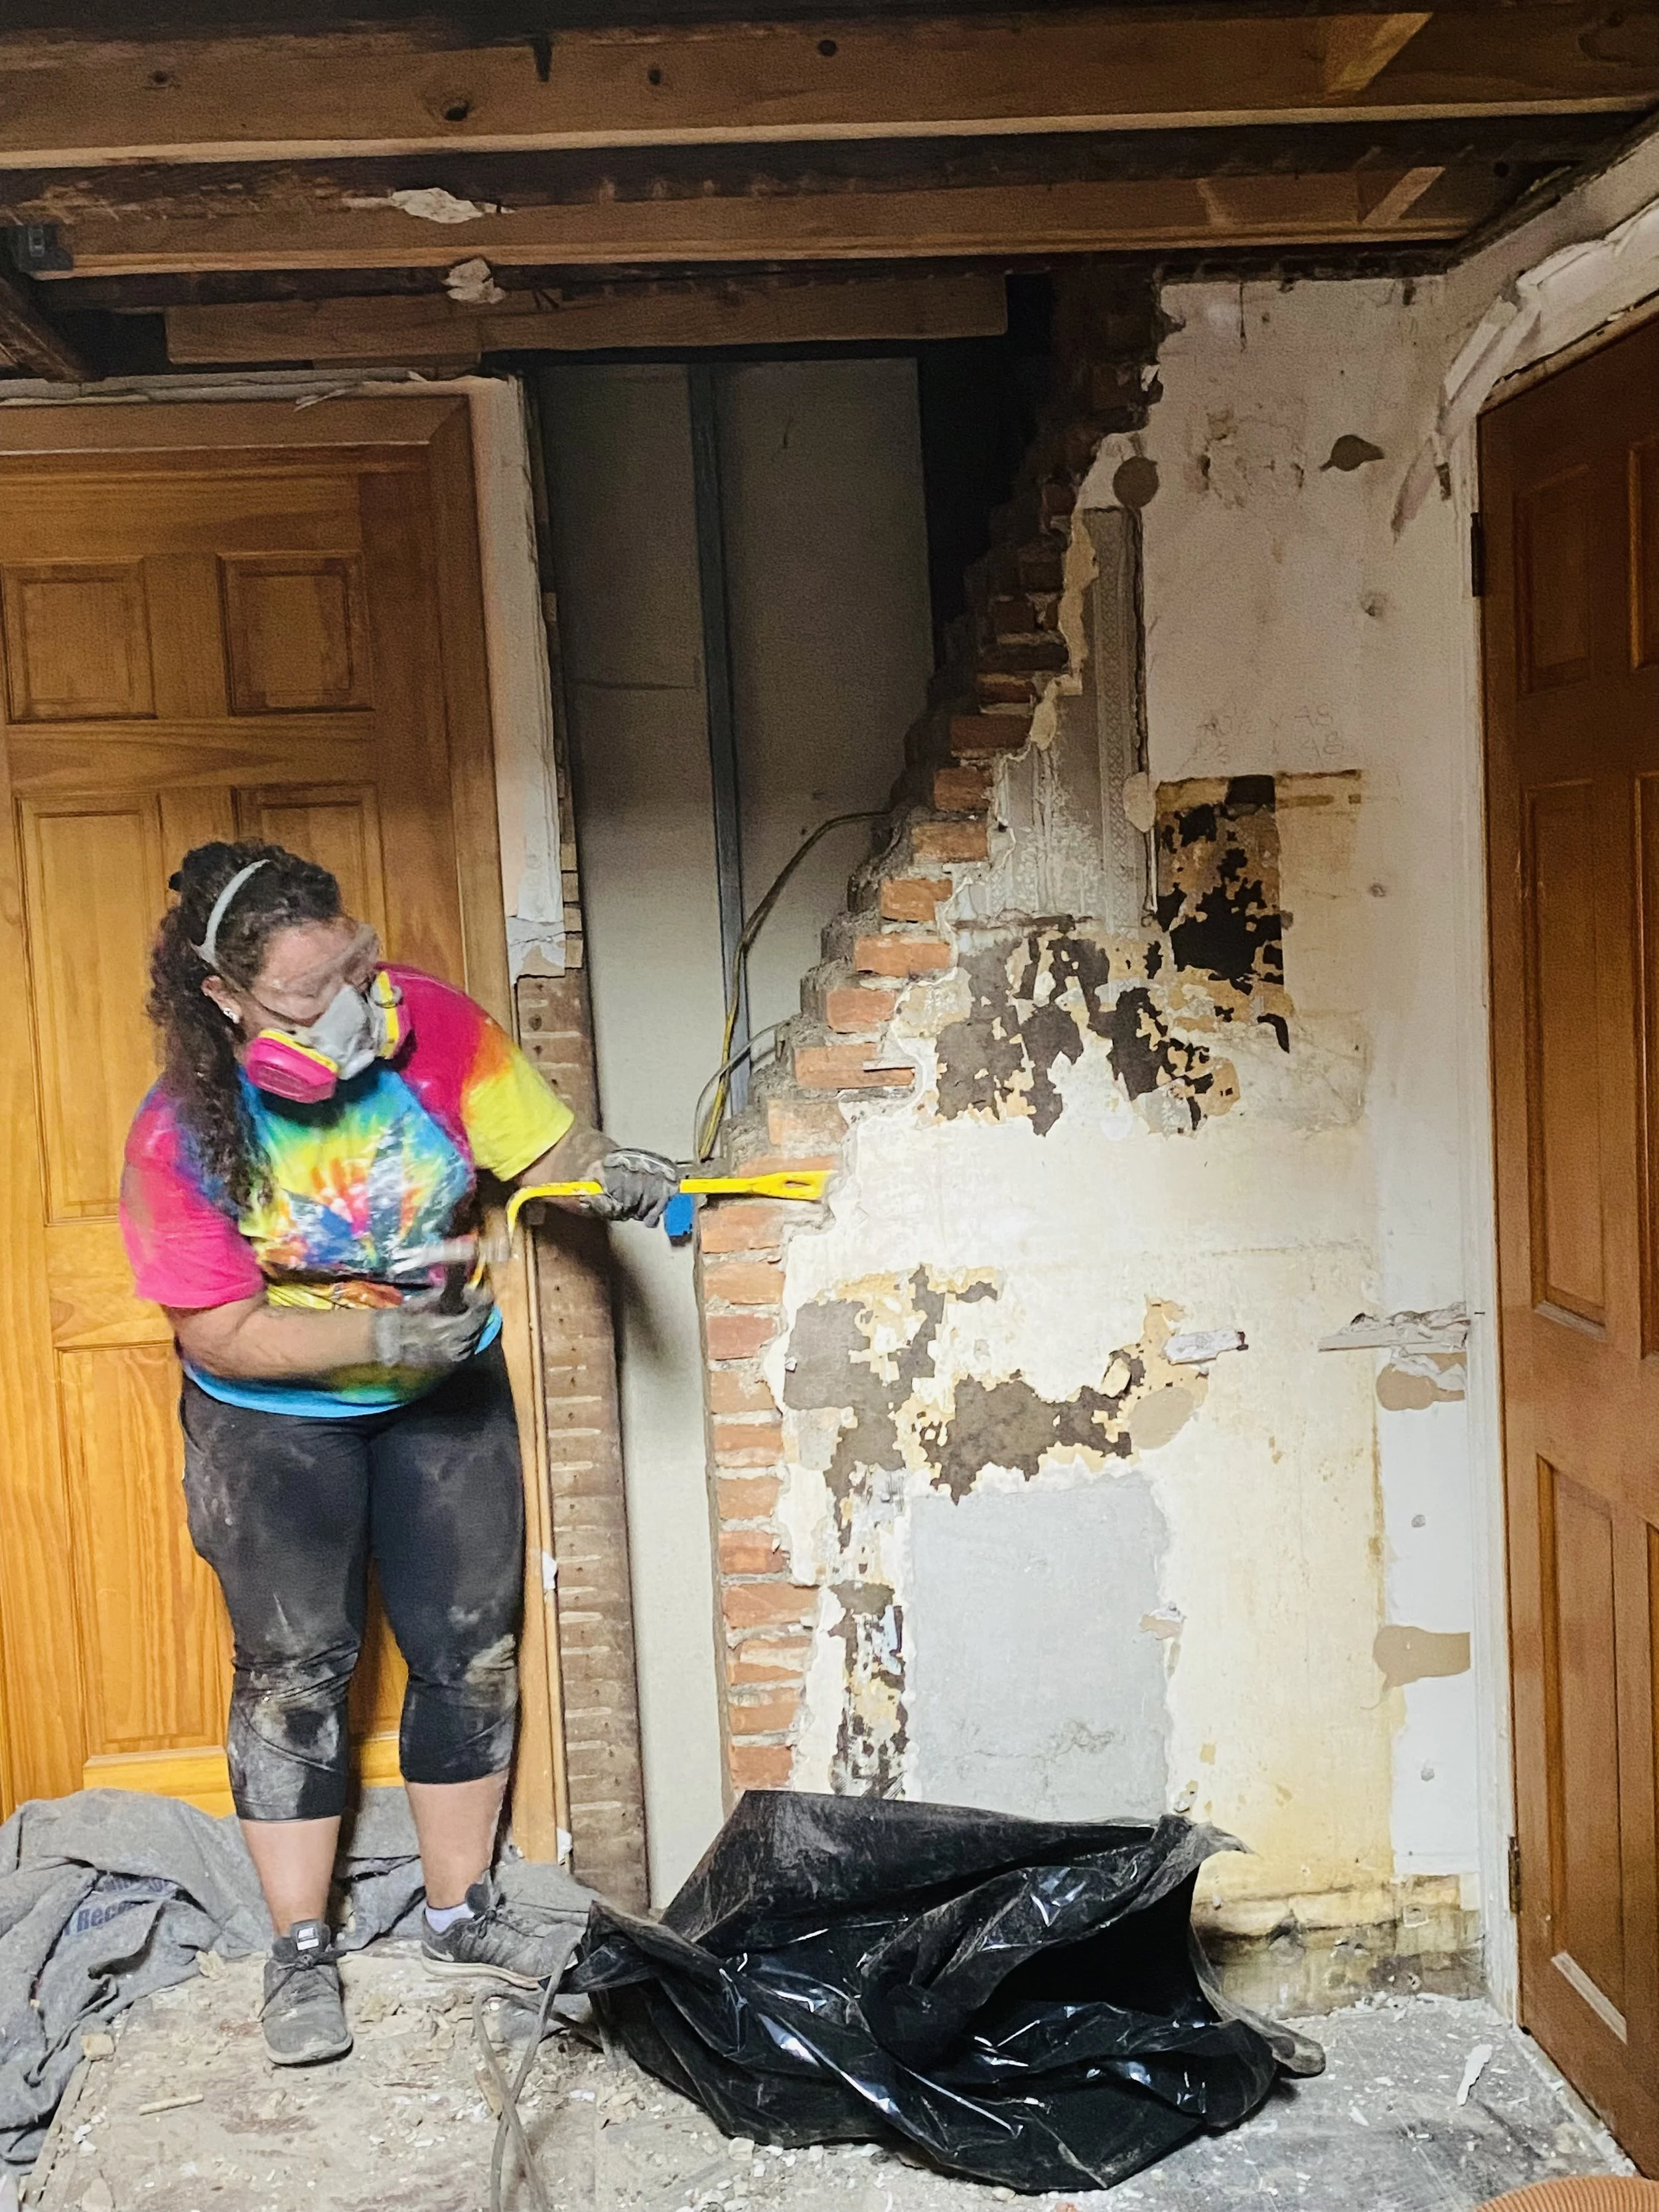
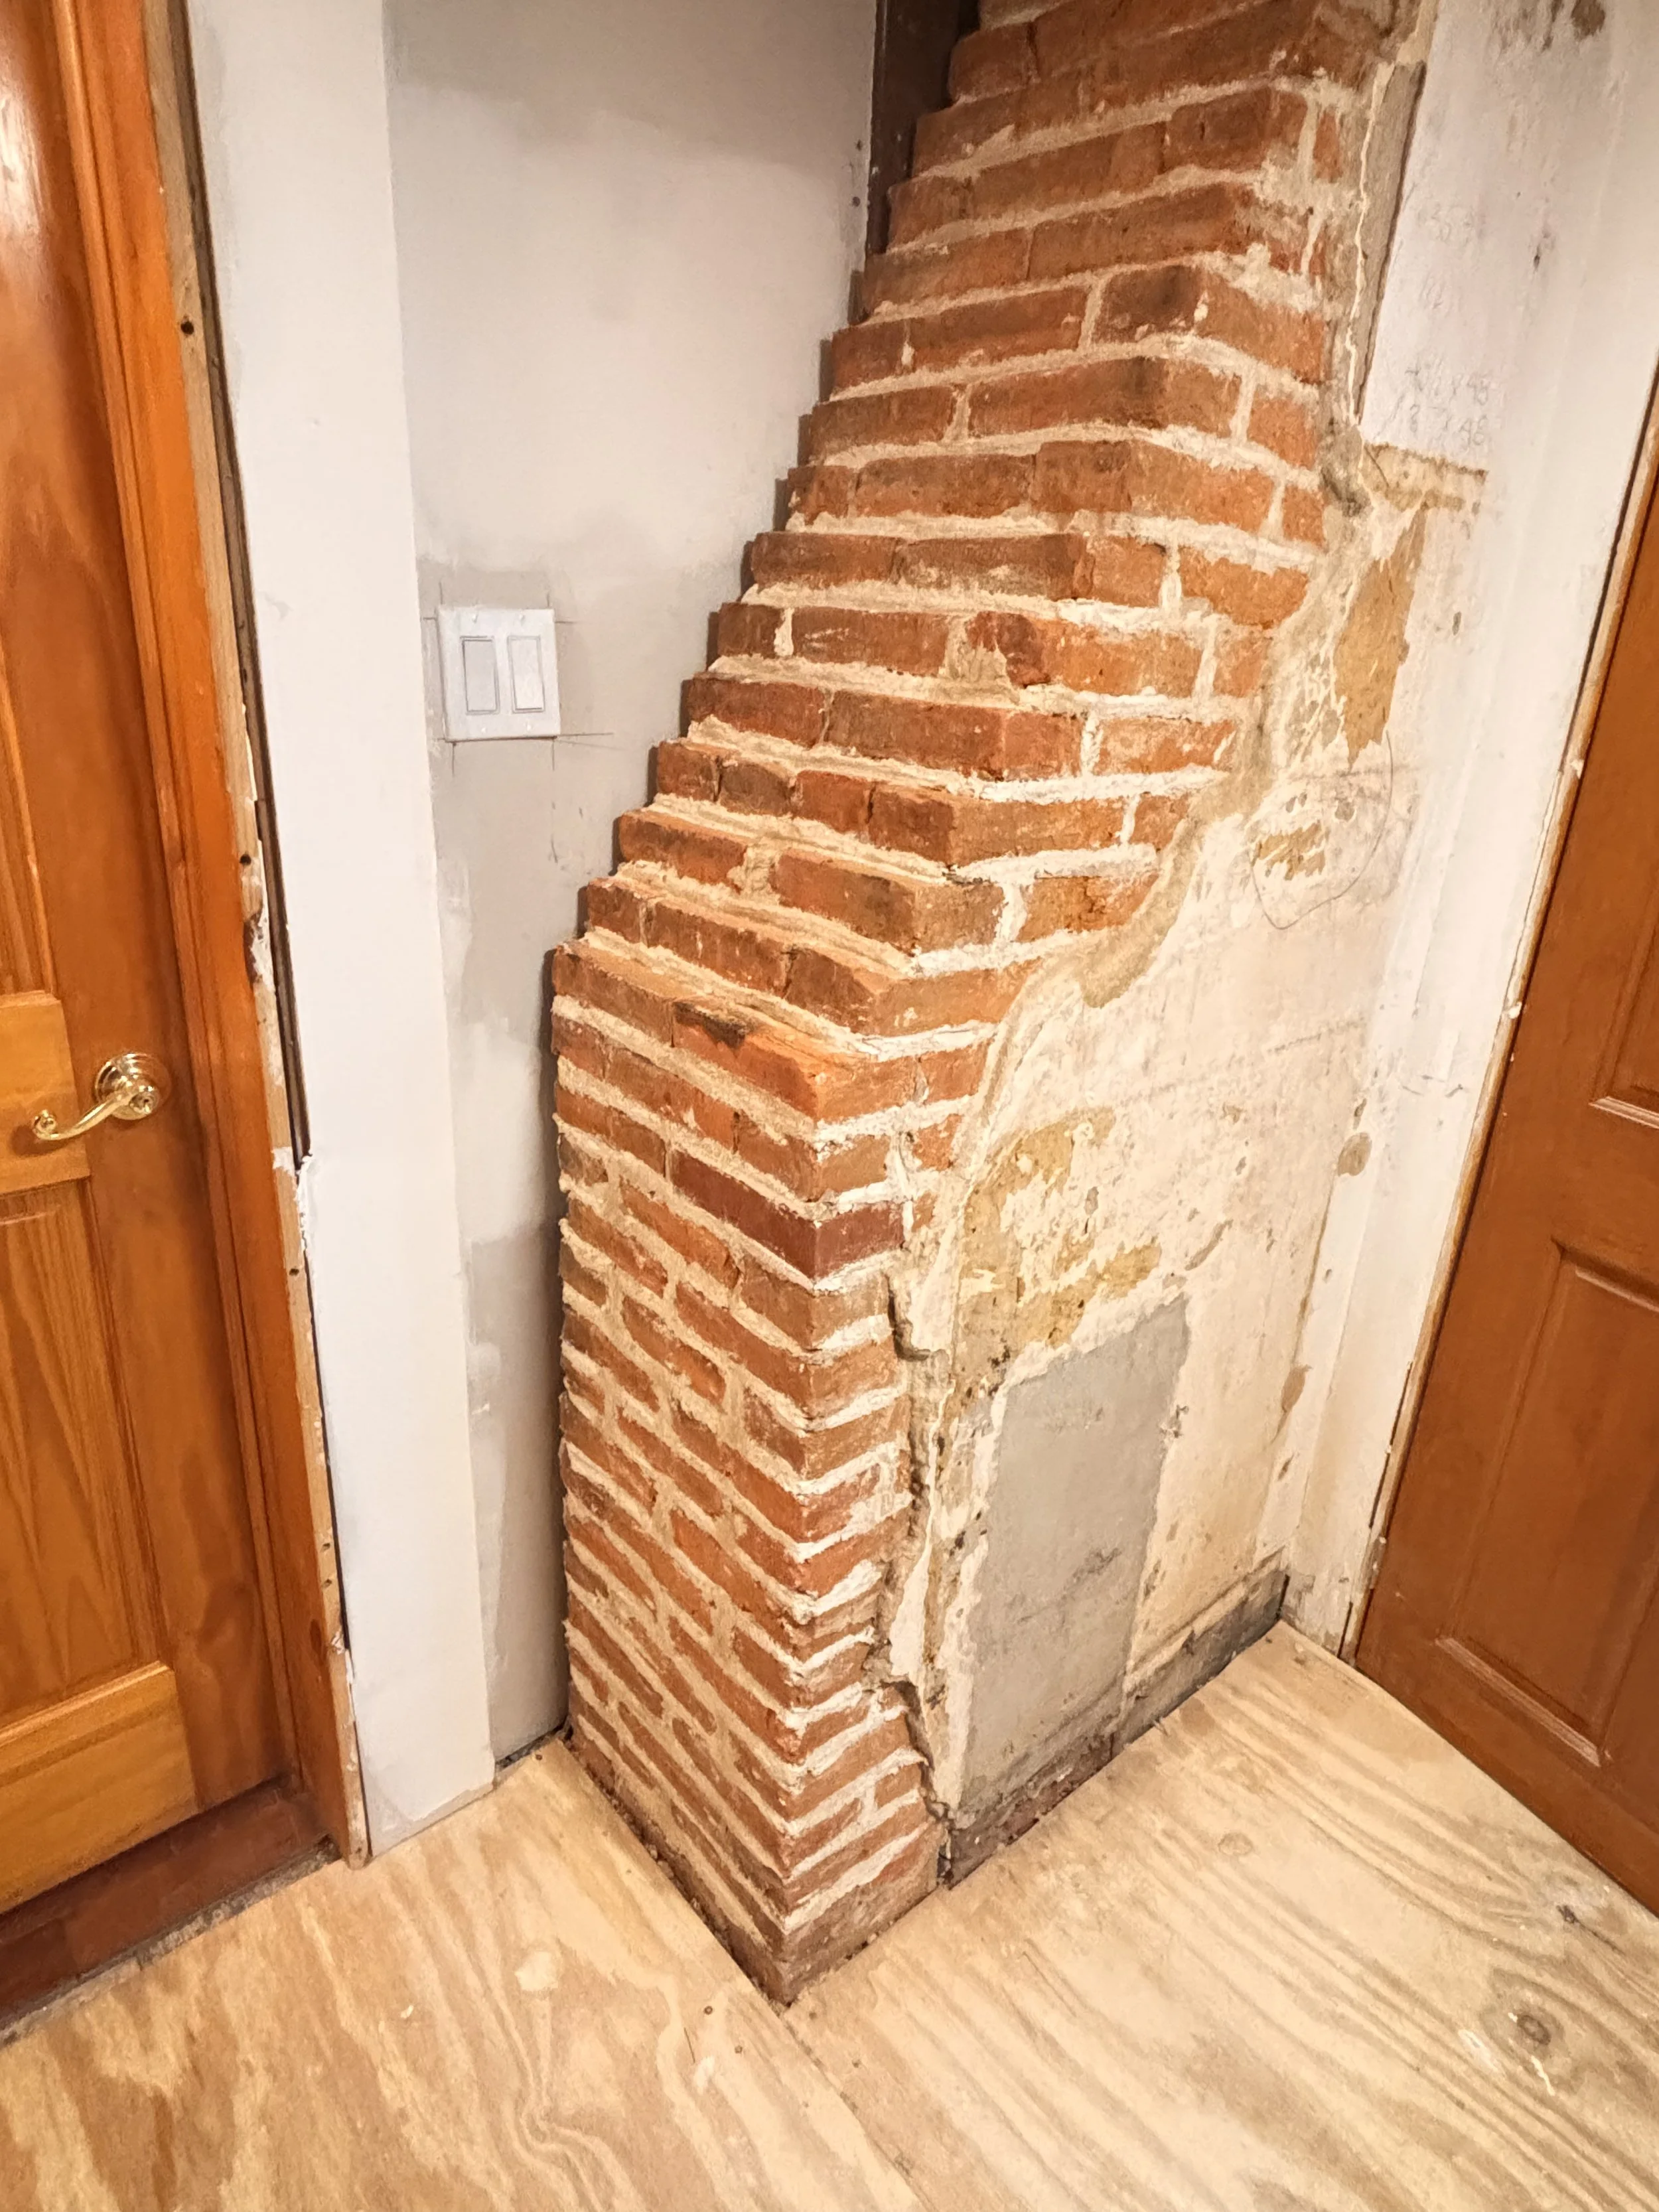
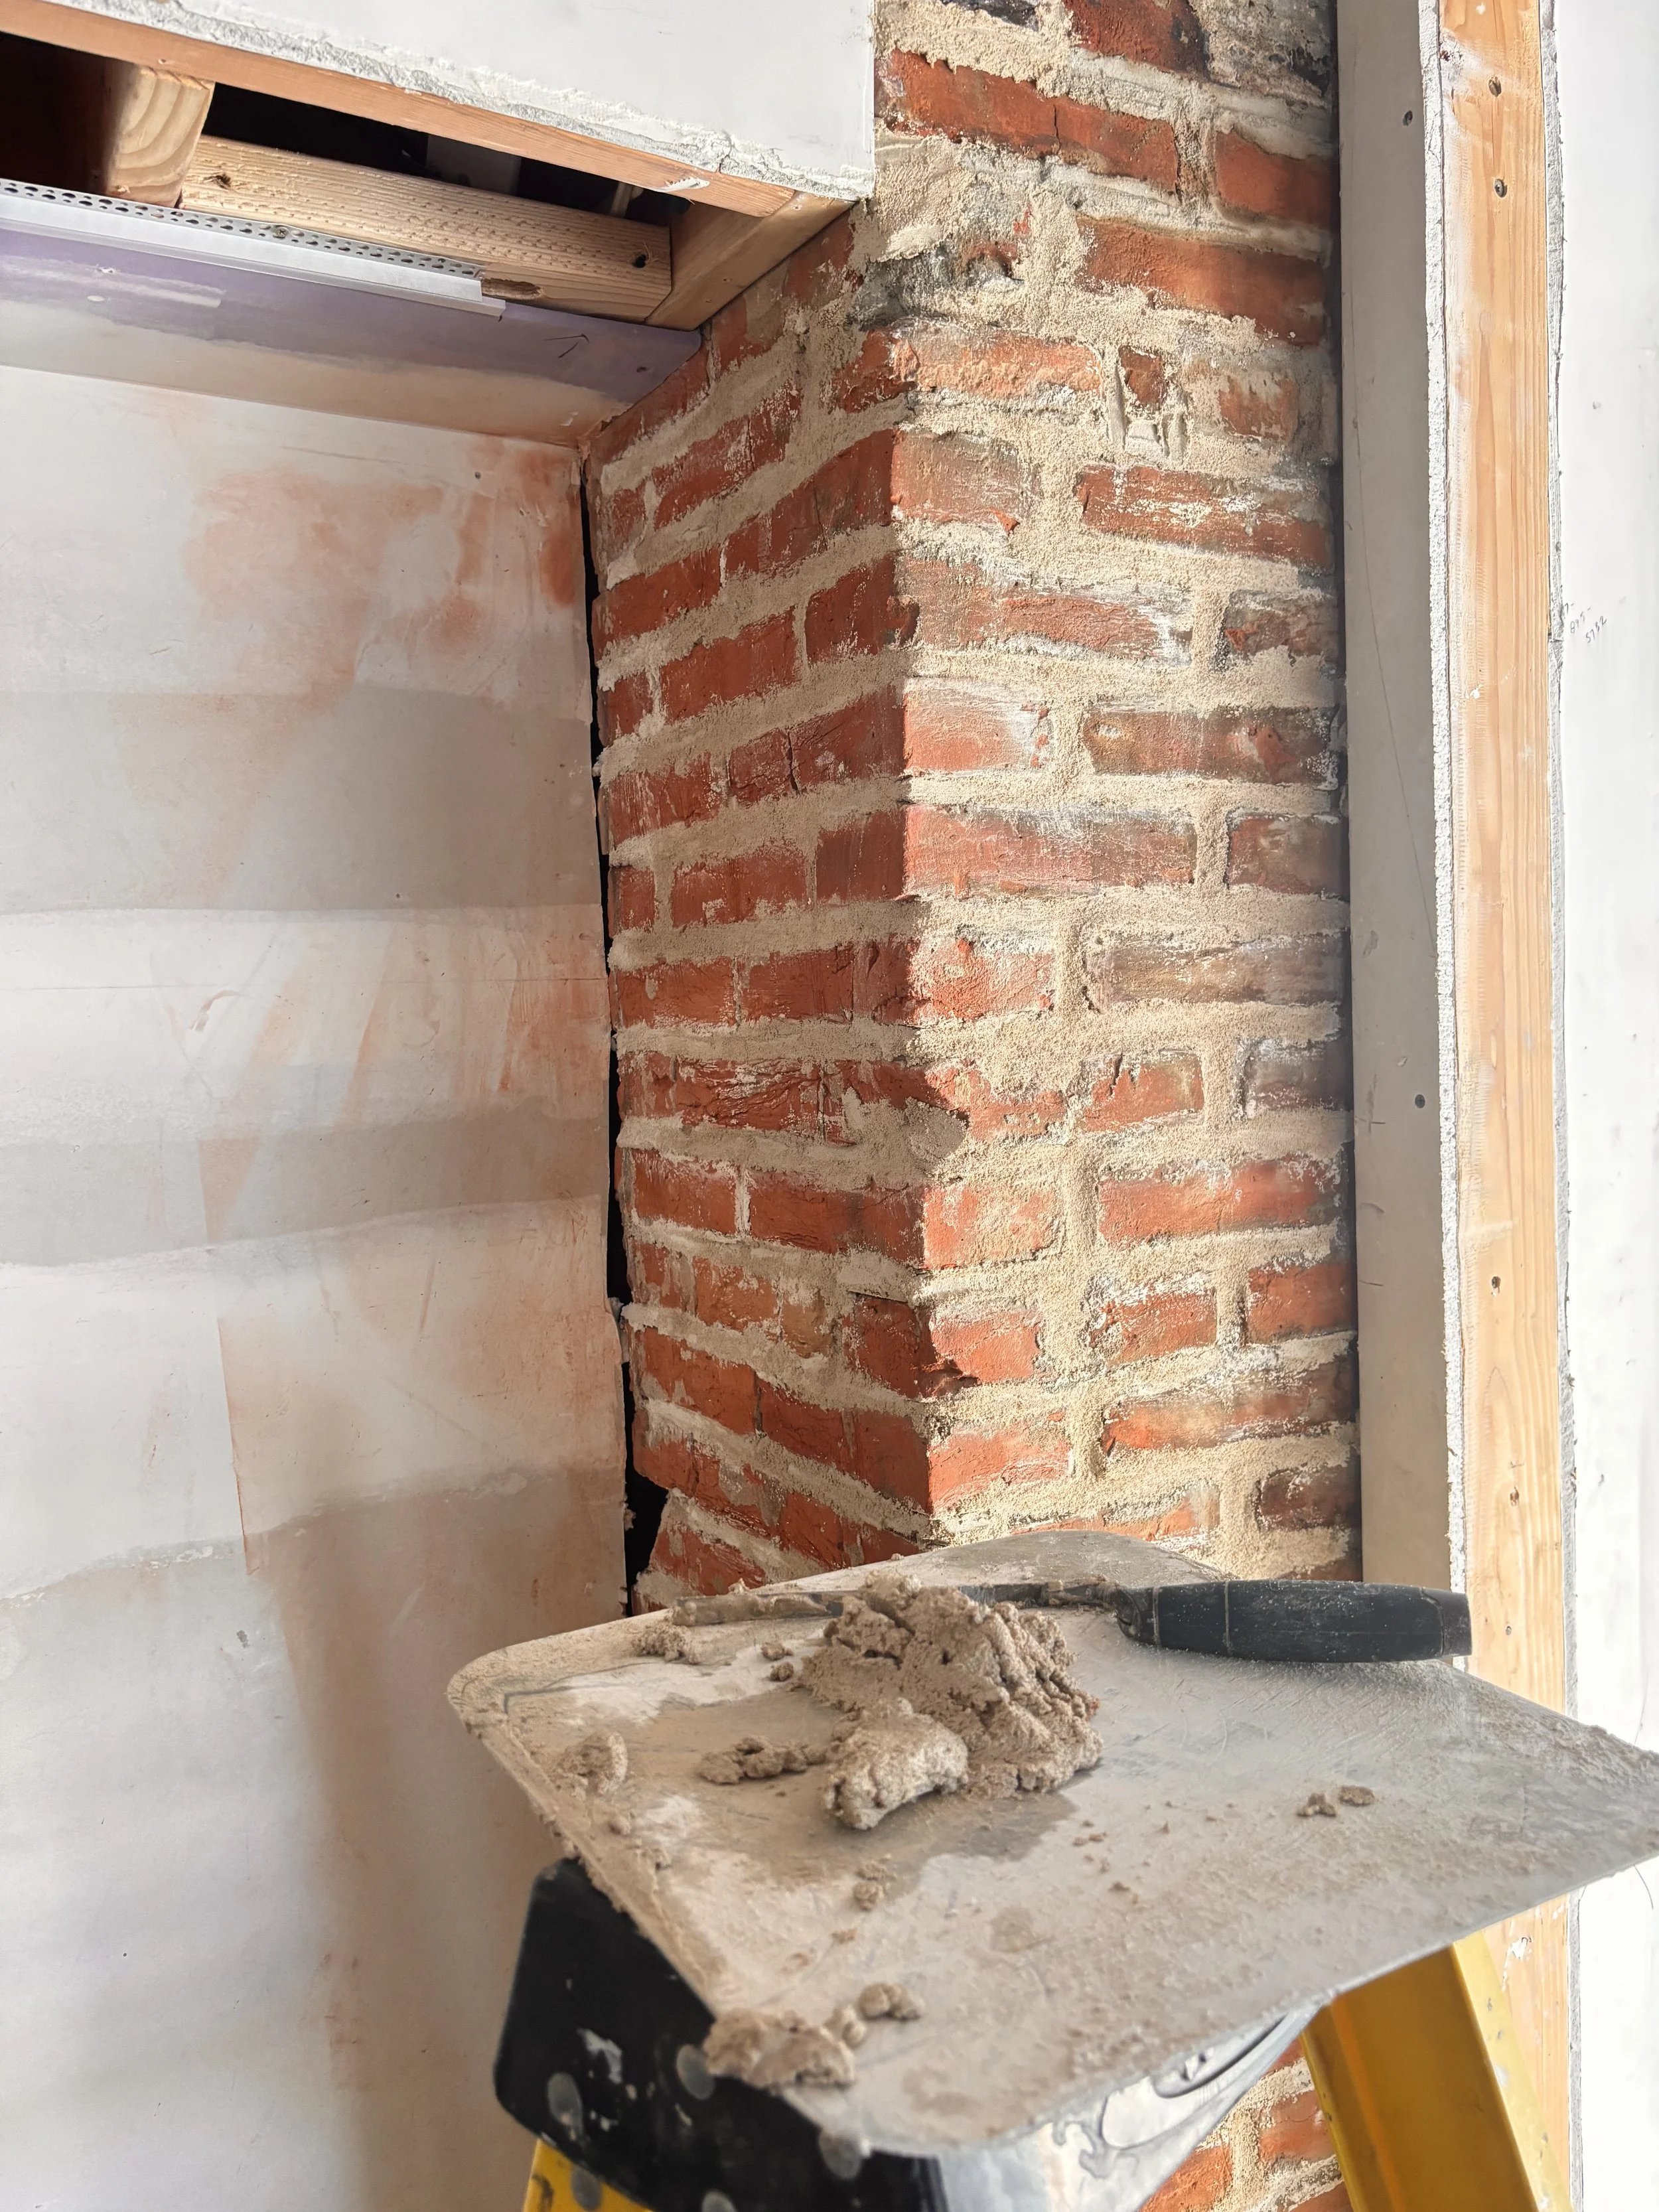
Chimneys were refreshed throughout the house using lime mortar, which is essential for allowing historic brick & mortar to breathe.
floor stabilization framing plan
third floor “wet room”
third floor gut
third floor demo
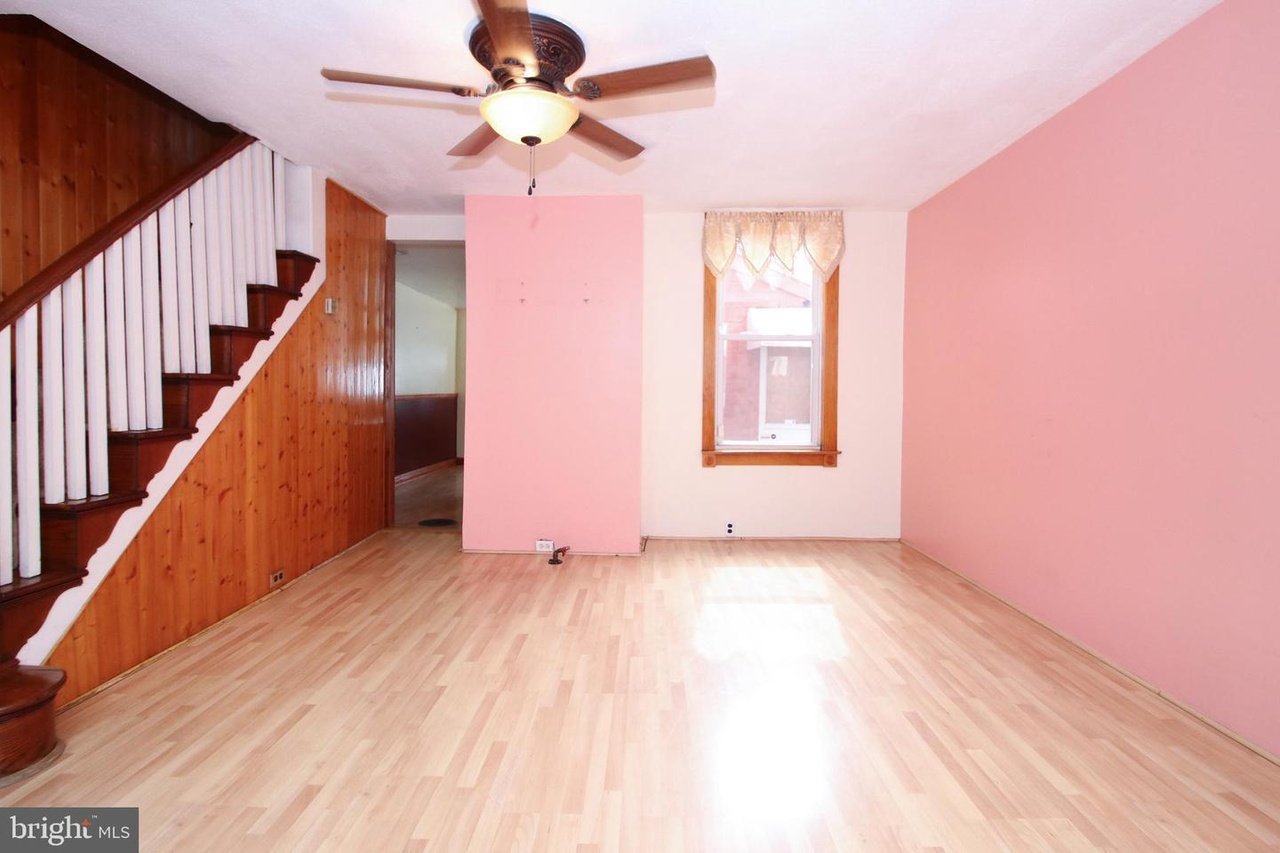
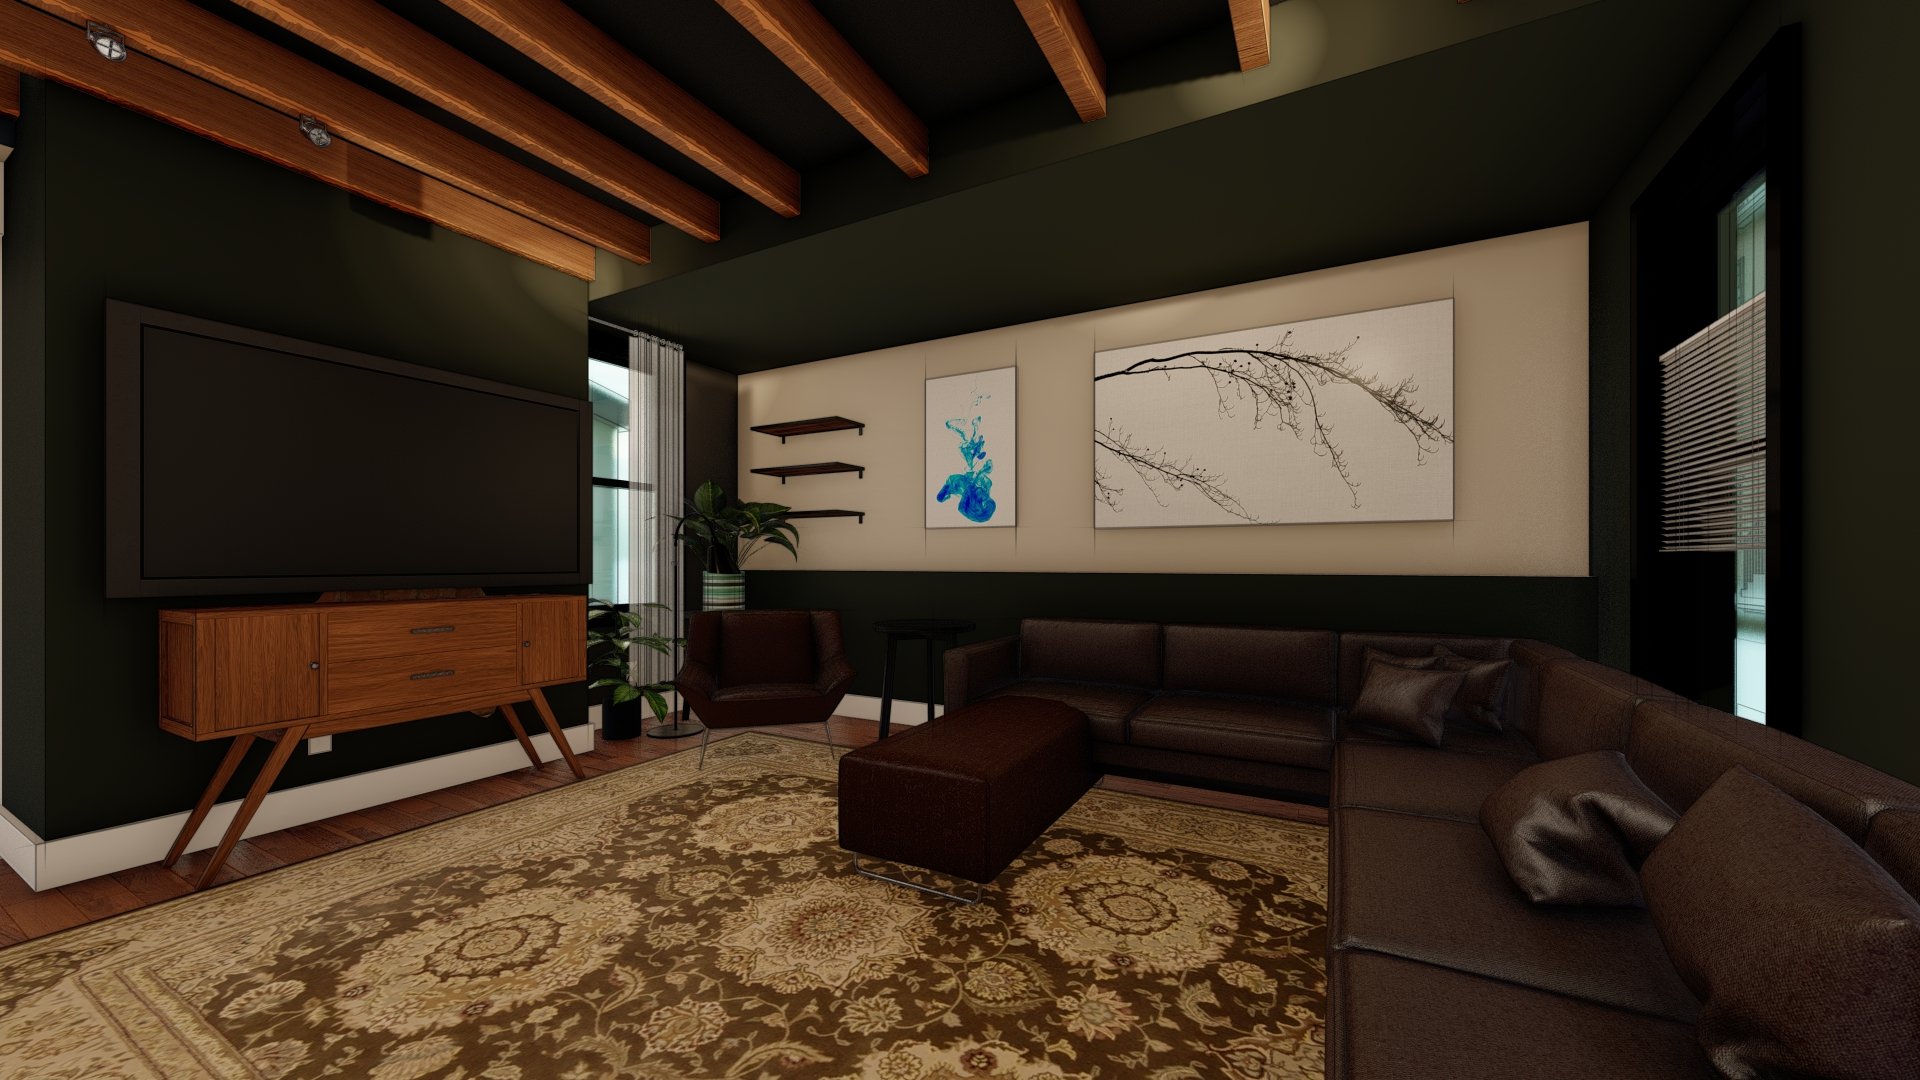
The living room will be the first impression of the house. During demolition it was revealed that we could achieve another 6-8” of ceiling height if we remove the dropped ceiling and expose the second floor beams. This would raise previous ceiling heights from 7’-6 to just above 8’ to the underside of joist.
living room concept rendering
living room pre demo
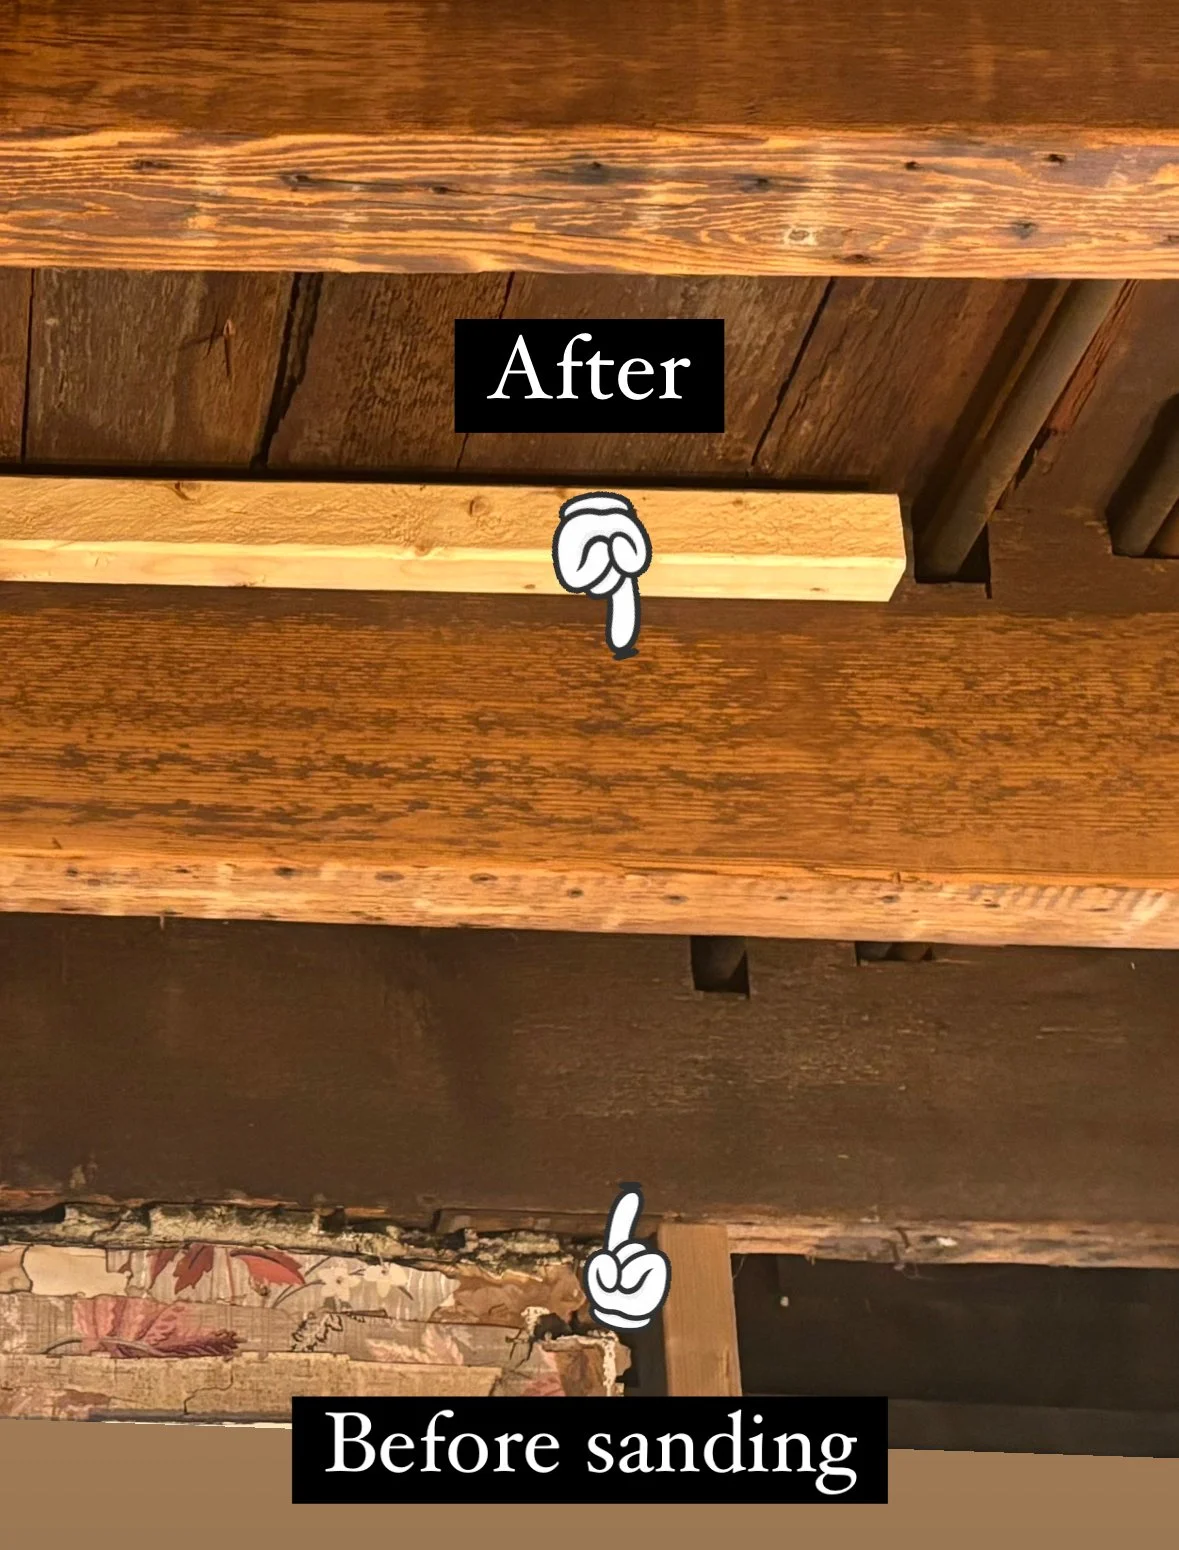
Prepping the joists was time consuming and messy. First, several joists were severely over-notched from previous homeowners and needed repair. They were strengthened through a process called scabbing- watch my repair here.
Next came the sanding, which created an unimaginable amount of dust. We loved the torture of this process so much, we would decide to do it again to the loft…
1×1 cleats were nailed to the top of joist to allow for a utility chase between the drywall finish and subfloor above.
The existing winder stair configuration presented challenges related to headroom, circulation, and modern code requirements. A new stair strategy was developed to improve access to the third floor.
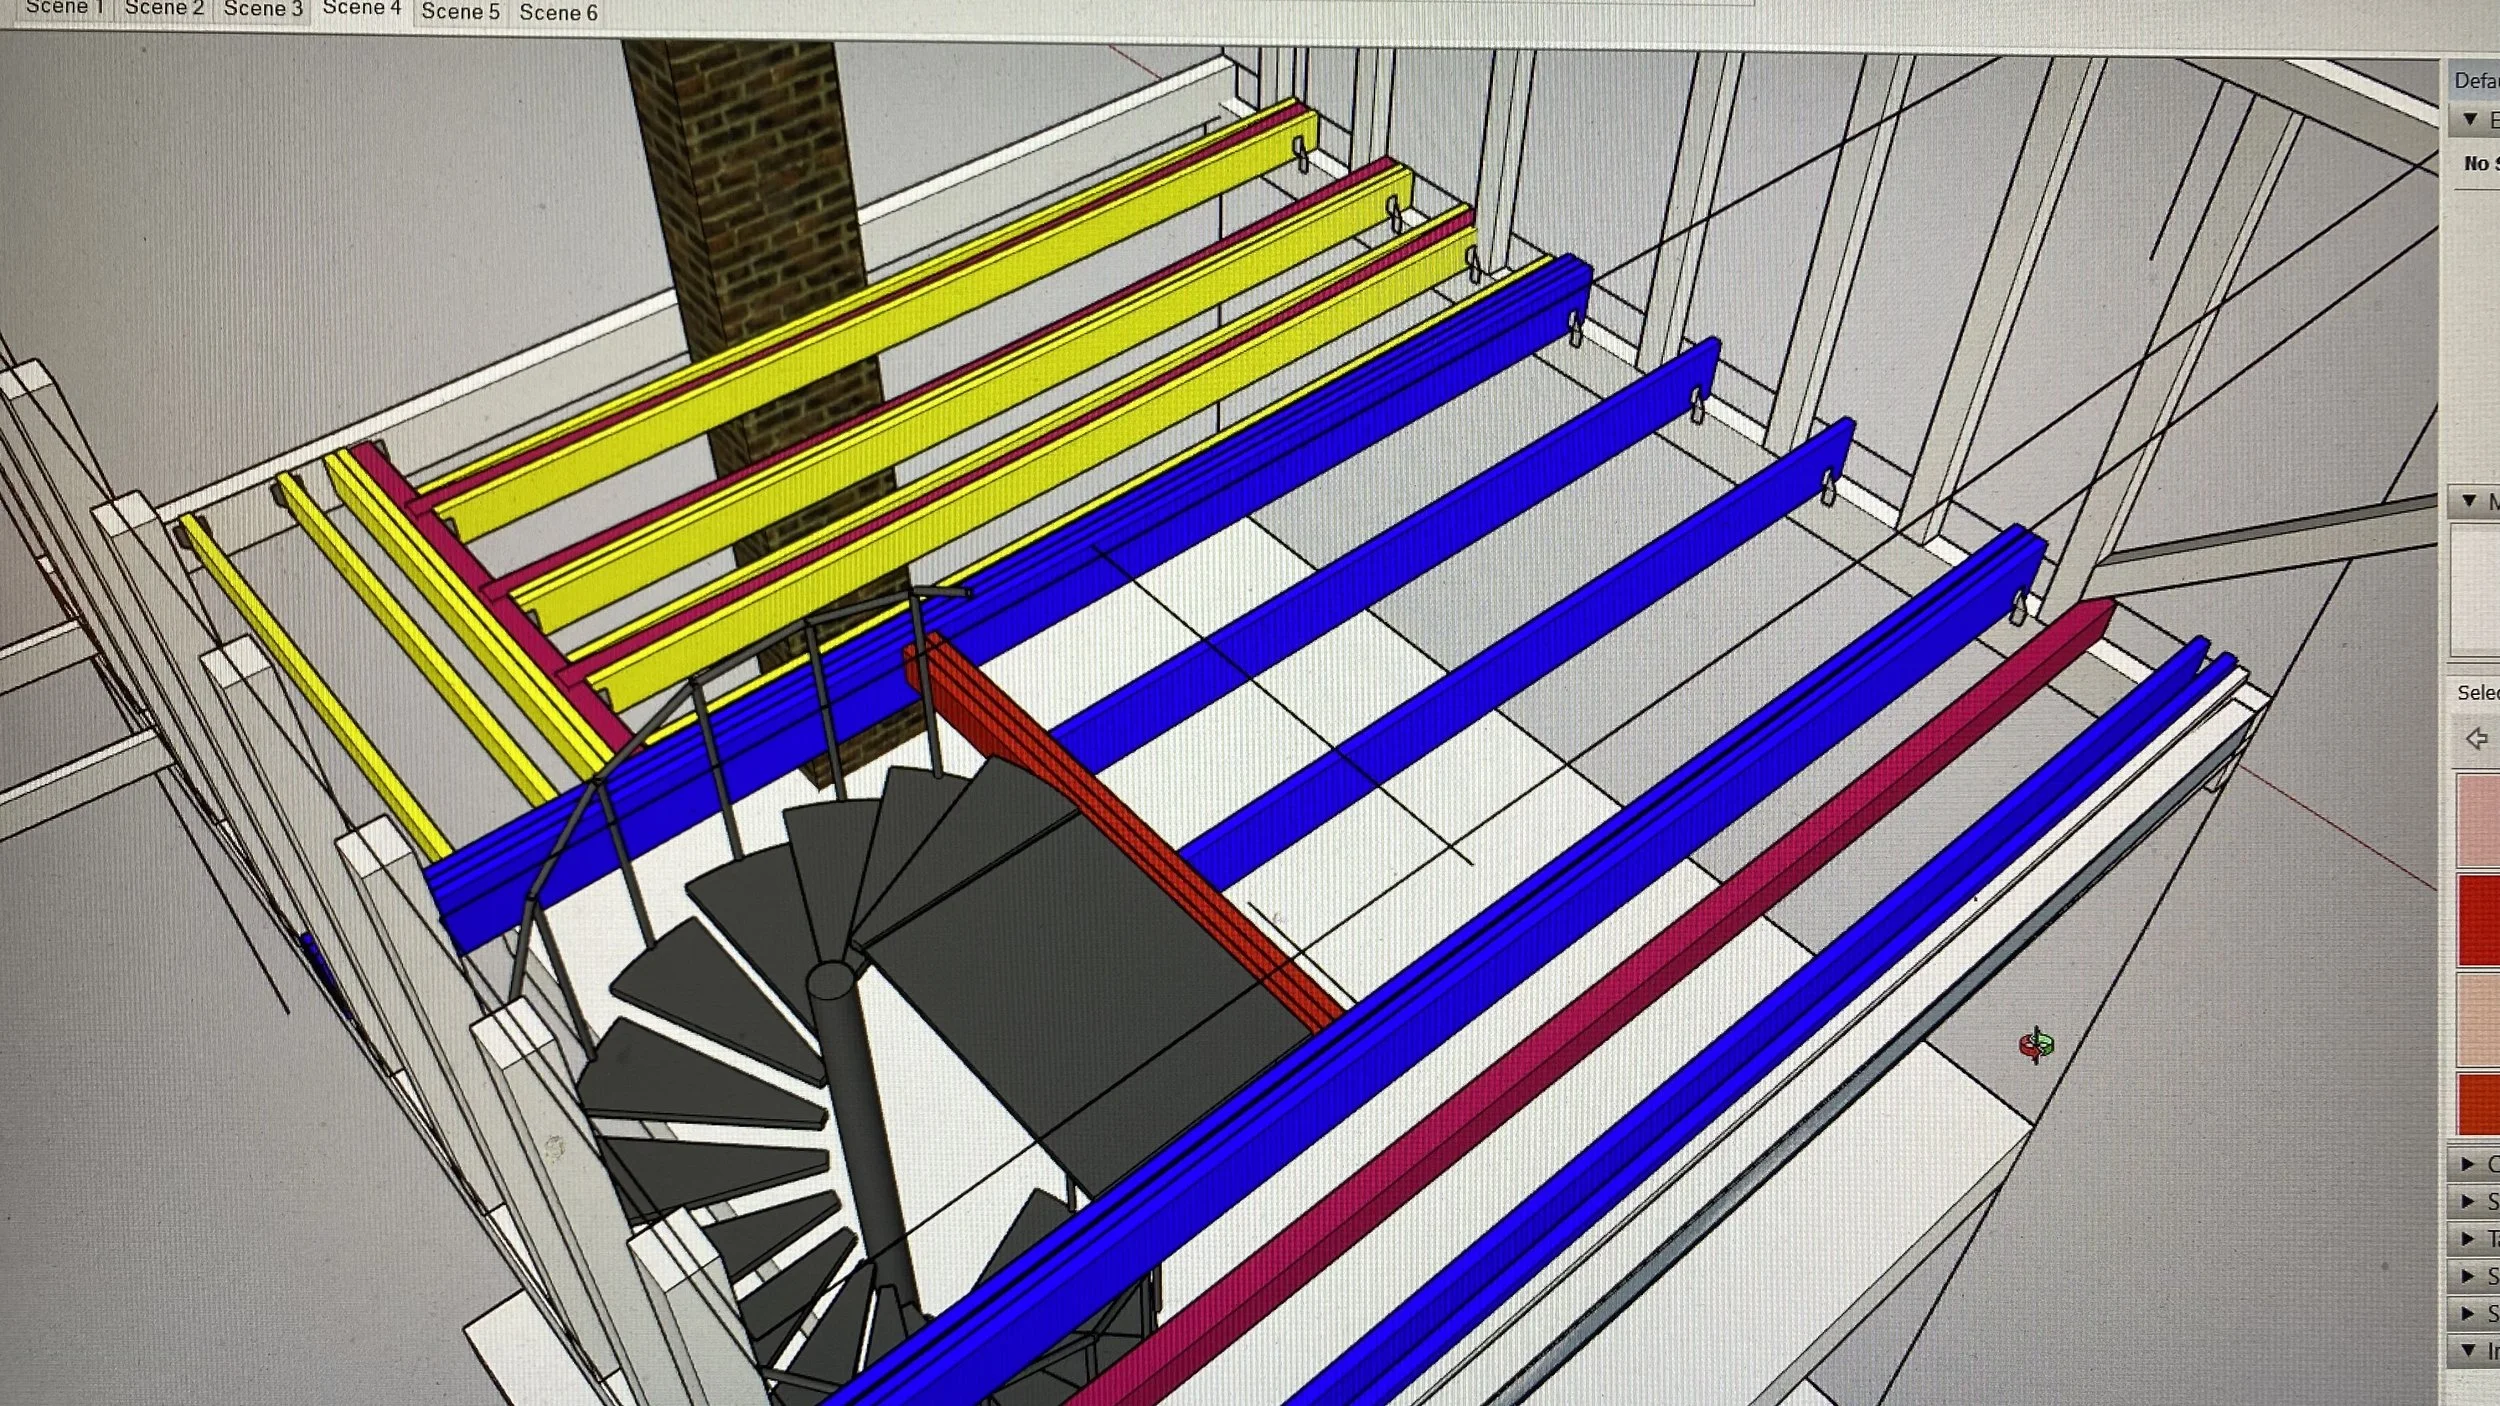
During demolition, significant settlement and floor deflection were discovered within the timber framing. The project evolved into a comprehensive structural rehabilitation that stabilized the floor system and created a level substrate for future improvements.
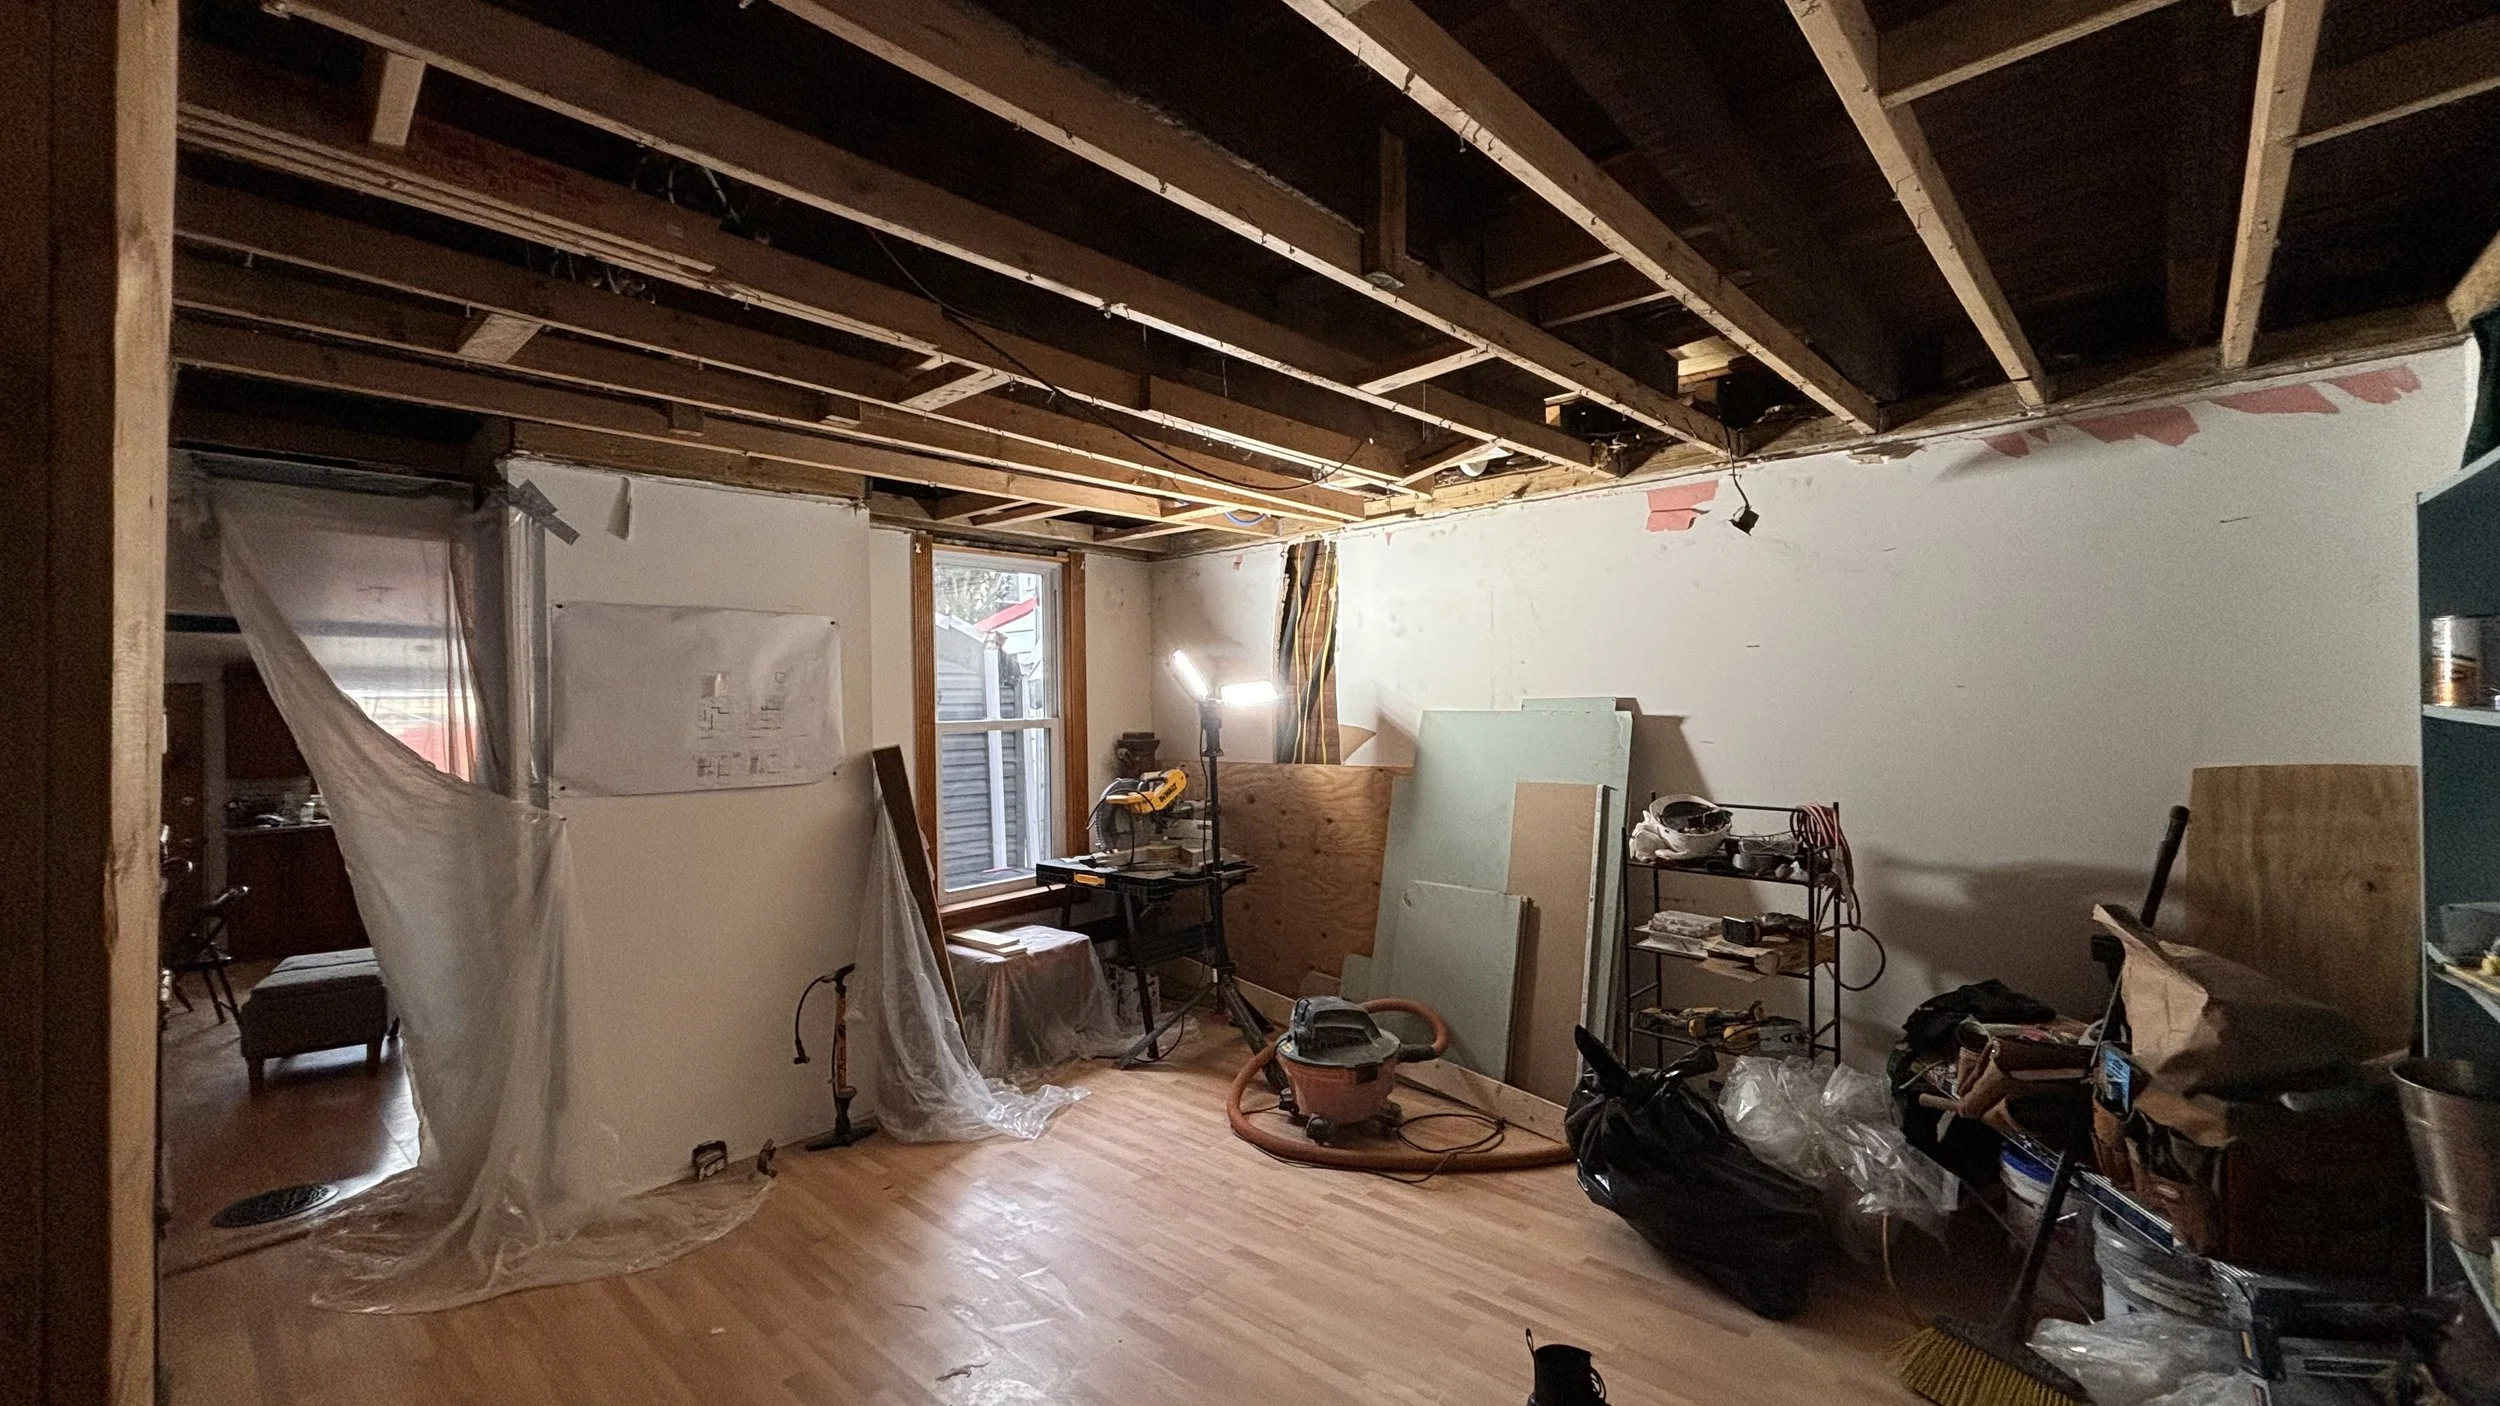
living room demo
Planning & Demolition
Rebuild